


How Trade Show Printing Works: A Planner's Guide
Posted by Deeder Dandenhorf on May 20th 2026
How Trade Show Printing Works: A Planner’s Guide

If you’ve ever shown up to a trade show with a banner that looked nothing like your brand colors, or scrambled to fix a file the night before your display shipped, you already know that understanding how trade show printing works is not optional. It’s the difference between a booth that commands attention and one that blends into the background. This guide walks you through the entire process, from file preparation and color management to material selection, production logistics, and the emerging technologies reshaping how trade show graphics are made today.
Table of Contents
- Key takeaways
- How trade show printing works: the technical foundation
- Choosing the right materials for your display
- Production timelines, logistics, and on-site execution
- Emerging technology in trade show print workflows
- My take on what actually makes or breaks trade show printing
- How Arrowheadsigncompany makes your trade show printing easier
- FAQ
Key takeaways
| Point | Details |
|---|---|
| File prep drives print quality | RGB-to-CMYK conversion and embedded ICC profiles determine whether your colors print accurately. |
| Resolution depends on viewing distance | Trade show graphics only need 100-150 PPI, not the standard 300 PPI used for close-up print work. |
| Material choice affects logistics costs | Lightweight fabric displays lower drayage fees and speed up booth assembly compared to heavier substrates. |
| Timelines prevent expensive mistakes | Building a proactive production schedule from design to delivery eliminates rush fees and last-minute reprints. |
| Single-source vendors reduce risk | Consolidating printing, kitting, and logistics with one partner simplifies coordination on tight event deadlines. |
How trade show printing works: the technical foundation
Most costly reprints trace back to decisions made before a single drop of ink hits the substrate. Improper file preparation is the leading cause of large format printing failures, including missing bleed, unmanaged color conversion, and missing ICC profiles. Understanding these technical steps is where your trade show printing process either succeeds or starts to unravel.
Color mode: RGB vs. CMYK
Your monitor displays color using RGB (red, green, blue) light. Printers use CMYK (cyan, magenta, yellow, black) ink. When you send an RGB file to a large format printer without converting it, the printer’s software makes its own conversion guess, and those guesses are rarely flattering. Blues shift toward purple. Greens go muddy. Your carefully chosen brand colors look like a different company entirely.
Convert your files to CMYK before submission, and embed the correct ICC profile for the specific substrate your printer is using. ICC profiles with PDF/X-4 preserve live transparency and color data until the printer’s RIP software renders the final output, giving the press precise color conversion calibrated to that exact material. This is the standard serious print vendors expect.
Resolution, bleed, and safe zones
Here is a technical detail that surprises most first-time trade show exhibitors. For graphics viewed at 8 to 10 feet away, 100-150 PPI is sufficient resolution. Sending a 300 PPI file for a 10-foot banner creates a massive, slow-to-process file with zero visible quality improvement. Match your resolution to your viewing distance.
Bleed and safe zones are equally non-negotiable. Here is a quick reference for trade show print-ready files:
| Specification | Standard requirement | Why it matters |
|---|---|---|
| Bleed | 0.125 to 0.25 inches beyond trim | Prevents white edges after cutting |
| Safe zone | 0.125 inches inside trim | Keeps text and logos from being cut off |
| Resolution | 100-150 PPI at final size | Matches viewing distance, reduces file size |
| Color mode | CMYK with embedded ICC profile | Ensures accurate color reproduction |
| File format | PDF/X-4 preferred | Preserves transparency and color fidelity |
Pro Tip: Run a pre-flight check before submitting any file. A thorough pre-flight verifies resolution, safe zones, ICC profile embedding, font status, and color modes. Catching one missed bleed setting at this stage saves you from a full reprint after the job is already on press.
A structured pre-flight process that checks all of these elements mitigates reprint risk significantly. Late artwork revisions require re-running every one of these checks, which is why getting files right the first time protects both your timeline and your budget.
Choosing the right materials for your display
Once your files are print-ready, the next decision that shapes your booth’s visual impact is substrate selection. The material you print on determines how your graphics look under trade show lighting, how easy they are to transport, and how long they will last across multiple events.
Fabric vs. vinyl vs. rigid substrates
Each material category serves a different purpose. Understanding the trade-offs helps you build a display that fits your brand, your budget, and your logistics reality.
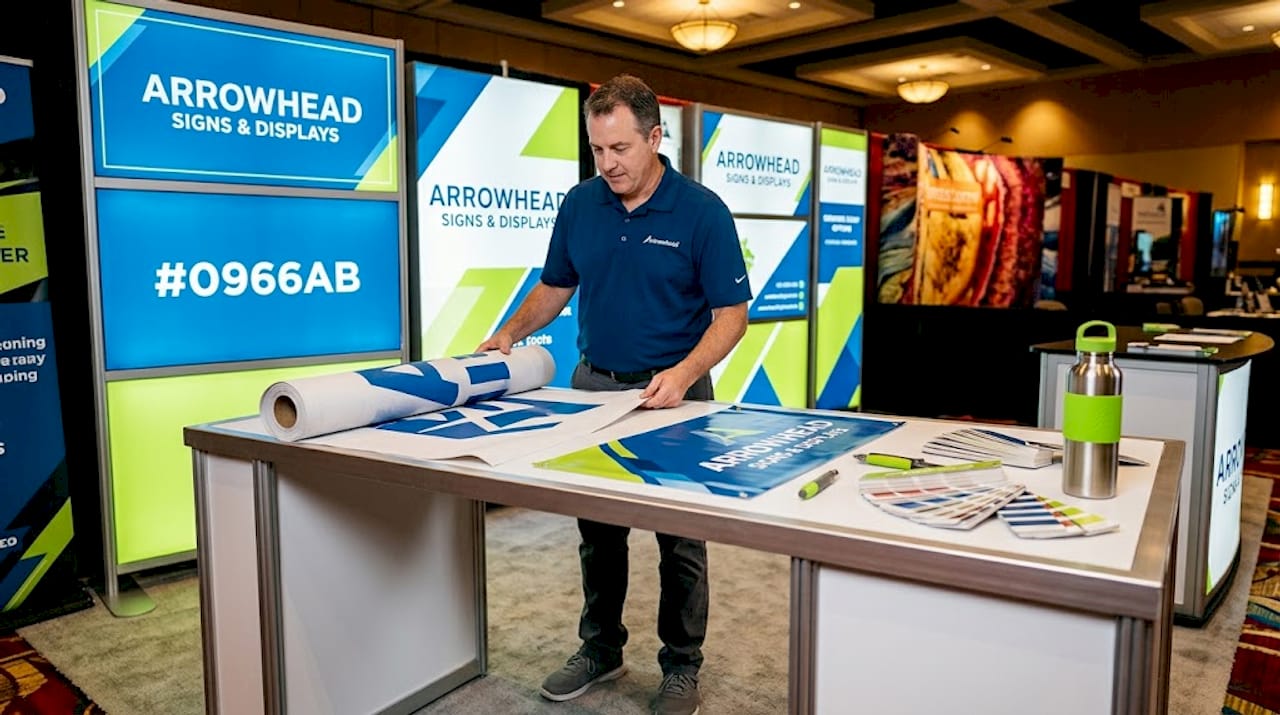
Fabric displays are the current standard for backwall graphics and tension fabric systems. They print with vivid, continuous color, pack down into a carry bag, and lightweight fabric materials lower drayage costs while enabling faster assembly. The trade-off is that fabric requires a frame system to stay taut, adding a hardware component to your kit.
Vinyl banners offer durability and weather resistance, making them a strong choice for retractable banner stands, step-and-repeat backdrops, and outdoor displays. Vinyl is heavier than fabric but holds up to repeated rolling and unrolling without cracking. For retractable banner stands specifically, vinyl is the industry standard because of how it feeds through the cassette mechanism.
Rigid substrates (foam board, PVC, aluminum composite) work well for tabletop displays, directional signage, and product showcases. They deliver a premium, structured look but add weight and bulk to your shipping crates. They are best reserved for displays that stay in one location rather than traveling frequently.
Here is a side-by-side comparison to guide your material decisions:
| Material | Best use | Portability | Durability | Cost range |
|---|---|---|---|---|
| Fabric | Backwalls, tension systems | High | Medium | Medium |
| Vinyl | Retractable banners, outdoor | Medium | High | Low-Medium |
| Rigid (PVC/foam board) | Tabletop, signage | Low | Medium-High | Medium-High |
Your material choices also signal brand quality to attendees. A crisp fabric backwall with a matching table cover and coordinated retractable banners communicates professionalism in a way that mismatched materials simply cannot. When building your best personalized trade show kits, treat material consistency as a brand decision, not just a logistics one.
Production timelines, logistics, and on-site execution
Trade show printing is an end-to-end strategic campaign that requires synchronization of messaging, materials, timelines, and logistics. Getting your files right and choosing the right materials only matters if everything arrives at the right venue, at the right time, in the right condition.
Building your production timeline
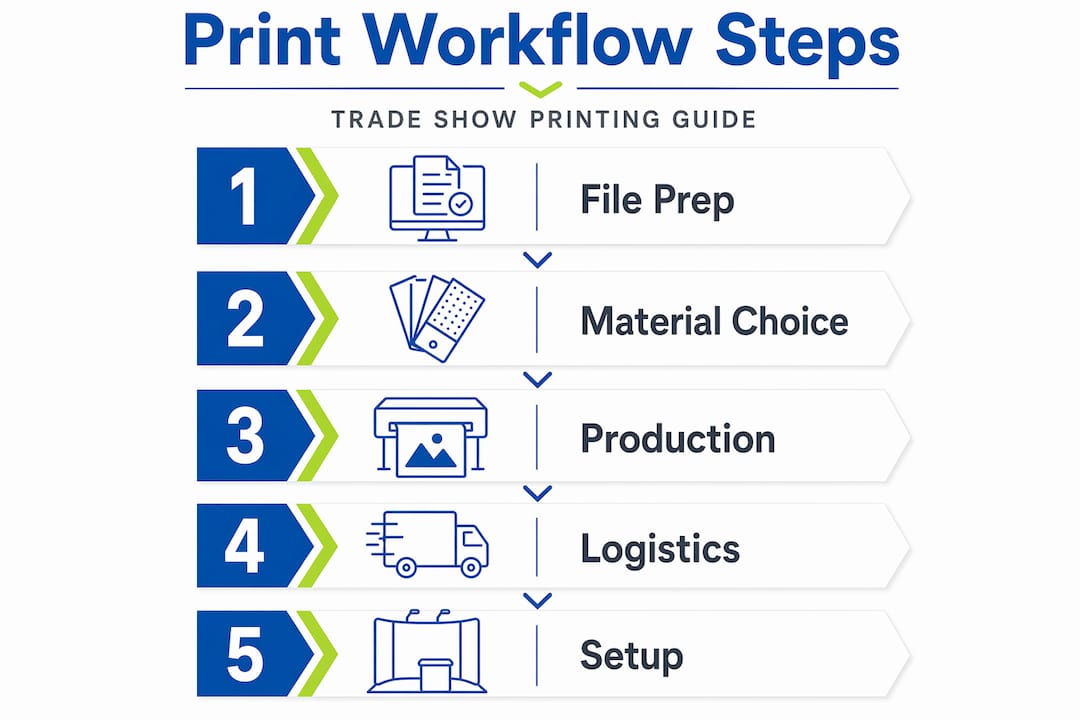
The single most common mistake event planners make is treating the print deadline as the shipping date. It is not. Work backwards from your booth setup time and account for every stage:
- Design finalization and file approval (allow 3 to 5 business days minimum for revisions)
- Pre-flight and press-ready file submission (1 to 2 business days)
- Print production (2 to 5 business days depending on complexity and quantity)
- Quality inspection and kitting (1 business day)
- Shipping transit time (3 to 7 business days for ground, 1 to 2 for expedited)
- Venue receiving window (most convention centers have specific advance receiving dates)
Strategic advance timelines that account for union labor and drayage fees prevent costly delays and budget overruns. Drayage, the fee convention centers charge to move your freight from the loading dock to your booth, is calculated by weight. A display kit that weighs 200 pounds costs significantly more to dray than one that weighs 40 pounds. This is another reason fabric and lightweight materials pay off beyond just portability.
Venue rules and vendor coordination
Many convention centers operate under union labor jurisdictions. This means your own team may not be permitted to use power tools, hang graphics, or assemble certain structures without a union crew. Knowing this in advance lets you budget for labor costs and schedule setup time accurately.
Working with vendors and using structured checklists ensures your materials coordinate effectively and meet event deadlines. A good print vendor will flag these considerations during the planning phase, not after your crates arrive at the loading dock.
Pro Tip: Pack a booth emergency kit with extra hardware, touch-up markers in your brand colors, gaffer tape, and a printed copy of your booth layout. Small fixes on-site are far cheaper than reprints shipped overnight.
Single-source partners for printing, kitting, and logistics consolidate vendor risk and simplify coordination on tight deadlines. When your printer also manages your shipping and tracks your delivery to the venue, you eliminate the communication gaps that cause last-minute crises.
Emerging technology in trade show print workflows
The trade show printing process is evolving rapidly, and the changes are making it meaningfully easier for small businesses and independent event planners to produce professional-grade materials without a dedicated production team.
Web-to-print platforms now automate artwork upload, preview, and ordering, supporting both short-run and high-volume jobs. You upload your file, see a rendered preview, select your substrate and quantity, and place your order, all without a back-and-forth email chain with a sales rep. These platforms also support variable data printing, which lets you personalize collateral by name, region, or product line across a single print run.
Automation within production workflows reduces manual errors at every stage, from file routing to color profiling to finishing. For planners managing multiple events across a calendar year, this means faster turnarounds, more predictable costs, and fewer surprises at the booth. The practical benefit is not just speed. It is confidence that what you ordered is what will show up.
My take on what actually makes or breaks trade show printing
I’ve reviewed enough rushed trade show jobs to know that the equipment inside a print shop matters far less than the decisions made before the file ever gets there. Pre-printing decisions about resolution, color management, and file format are the actual drivers of success or failure. The press is just executing instructions.
What I’ve learned from watching planners navigate this process is that the ones who get great results treat their print vendor as a collaborator, not a vendor. They share their booth layout early. They ask about substrate-specific ICC profiles before they finalize their designs. They build timelines that have buffer, not timelines that assume everything goes right.
The most expensive lesson I’ve seen repeated is the last-minute file fix. A designer sends an RGB file at 72 PPI with no bleed two days before the show. The printer catches it. Now you’re paying rush rates, potentially compromising quality, and managing stress that was entirely avoidable. The fix is not a better printer. It is a better workflow.
My honest advice: if you are new to trade show printing, spend 30 minutes with your print vendor before you open your design software. Ask what file format they prefer, what ICC profile they use for the substrate you’ve chosen, and what their standard lead time is. That one conversation will save you more money and stress than any other single action in your event planning process.
— Dan
How Arrowheadsigncompany makes your trade show printing easier
Planning a trade show booth involves enough moving parts without worrying about whether your files are print-ready or your displays will arrive on time. Arrowheadsigncompany specializes in exactly this kind of support for small businesses and event planners across Arizona and beyond.

From retractable banners and custom table covers to full trade show display kits, Arrowheadsigncompany ships most products within two business days and offers direct delivery to venues across Arizona. Their team works with you on file preparation, material selection, and print-ready standards so your graphics look exactly the way you intended. Whether you are building your first booth or refreshing an existing display, Arrowheadsigncompany brings the expertise and turnaround speed that event timelines demand.
FAQ
What is trade show printing?
Trade show printing is the production of custom graphics, signage, and display materials used to represent a brand at exhibitions and expos. It includes everything from retractable banners and fabric backwalls to table covers, printed tents, and promotional collateral.
What file format should I use for trade show graphics?
PDF/X-4 is the preferred format for trade show print files because it preserves live transparency and ICC profiles until the printer’s RIP software processes the job, resulting in more accurate color reproduction on the final substrate.
How much resolution do trade show banners need?
For trade show graphics viewed at 8 to 10 feet, 100 to 150 PPI at final print size is sufficient. Sending a 300 PPI file adds file size without improving visible quality at normal viewing distances.
How far in advance should I order trade show printing?
Plan to submit print-ready files at least 10 to 14 business days before your booth setup date. This accounts for production time, shipping transit, and the venue’s advance receiving window, with buffer for any file revisions.
Why do trade show colors look different when printed?
Color shifts happen when files are designed in RGB mode and converted to CMYK without proper ICC profile management. Converting to CMYK and embedding the correct substrate-specific ICC profile before submission produces colors that match your screen design far more closely.