

Your Complete Booth Teardown End-of-Show Guide
Posted by Deeder Dandenhorf on Aug 13th 2026
Your Complete Booth Teardown End-of-Show Guide
When the show closes, move fast and move smart. Secure your valuables first, photo-document the full booth before a single piece moves, assign roles to your crew, and start the dismantle sequence large-to-small. Three administrative tasks belong on your immediate list: confirm the show-close time and freight cutoff with the venue, notify your drayage carrier, and prepare your Bill of Lading (BOL). Teardown deserves the same planning attention as installation, and the exhibitors who treat it that way consistently leave the floor faster, with fewer damaged assets and no missing hardware.
Safety is non-negotiable from the first moment. OSHA guidelines call for two-person lifts on panels heavier than 50 lbs, proper PPE (closed-toe shoes, gloves), and clear traffic control around your booth footprint while freight carts and forklifts move through the aisles.
Immediate actions at show close:
- Secure cash, tablets, laptops, and branded merchandise before anything else
- Photograph every angle of the assembled booth, including cable runs and hardware joints
- Assign a team leader, an electronics lead, a packing lead, and an inventory lead
- Remove sensitive items and demo products from display surfaces
- Confirm drayage carrier deadlines and complete your BOL paperwork
Pro Tip: Take a short video walkthrough of the fully assembled booth. It captures context that still photos miss and gives your team a reassembly reference for the next show.
Key Takeaways
A complete booth teardown end-of-show guide comes down to five actions: document before you dismantle, assign clear roles, follow the large-to-small sequence, pack and label every crate, and choose storage that matches your timeline and materials.
| Point | Details |
|---|---|
| Document first | Photograph the full booth before moving anything; images protect your assets and speed reassembly. |
| Assign roles | Designate a team leader, electronics lead, packing lead, and inventory lead before teardown begins. |
| Large-to-small sequence | Dismantle structures before graphics, graphics before accessories, and pack small hardware last. |
| Label every crate | Include booth ID, crate number, contents, destination, and contact info on every crate or case. |
| Arrowhead Sign Company | Ships most replacement displays within two business days, with local Arizona delivery available. |
Table of Contents
- How should you prepare for teardown before the show ends?
- What is the right dismantling sequence for your booth?
- How do you pack and protect graphics, frames, and electronics?
- How do you label crates and build an inventory record?
- Cleaning and light maintenance before you put components away
- What storage option is right for your booth assets?
- How do you handle freight, drayage, and shipping paperwork?
- Printable teardown checklist and packing label template
- Common teardown mistakes and how to avoid them
- What experienced exhibitors know about teardown that most guides skip
- Fast replacement graphics when teardown reveals damage
- Sources
- FAQ
How should you prepare for teardown before the show ends?
Starting prep during the last hour of the show is what separates a smooth exit from a chaotic one. Photographing the setup, assigning tasks, and gathering tools before doors close prevents last-minute damage and delays that cost real money.
Last-hour checklist:
- Collect and box all remaining giveaways and promotional literature
- Back up demo data and log out of all devices
- Consolidate loose hardware, tools, and cable ties into a single tool kit
- Remove perishables, food samples, and any items that cannot ship
- Confirm each team member knows their role before teardown begins
Timeline by booth size (approximate):
A tabletop or 6-foot display typically needs one person and about 30 minutes. A standard 10x10 booth with a retractable banner, table cover, and small frame takes a two-person crew roughly 45–60 minutes. An island booth at 10x20 or larger, with fabric structures, monitors, and multiple graphic panels, requires three or more people and a realistic 2–3 hours for a clean, documented teardown.
Role clarity is what keeps that timeline on track. Your team leader manages sequencing and communicates with show management. The electronics lead handles power-down, cable labeling, and device packing. The packing lead controls materials and crate assignments. The inventory lead photographs and logs every component as it comes down.
Pro Tip: Photograph every joint, cable connection, and hardware assembly before disassembly. These images become your reassembly diagram at the next show, saving 20–30 minutes of guesswork.
What is the right dismantling sequence for your booth?
A clear, numbered order protects your assets and your crew. Teardown steps follow a logical sequence: power down, remove sensitive materials, take down graphics, disassemble structures, pack components, and prepare outbound shipping documents.
- Secure valuables. Remove cash, tablets, and high-value merchandise immediately.
- Power down and disconnect electronics. Follow lockout/tagout procedures for any hardwired electrical. Unplug monitors, label every cable, and coil them before placing in cases.
- Remove demo products and merchandise. Clear display surfaces completely before touching any structural element.
- Take down graphics and fabric. Remove printed panels, fabric skins, and banner graphics carefully. Never fold fabric graphics; roll them.
- Disassemble frames and structures. Work from the top down. Use two-person lifts for any panel or truss section over 50 lbs. Follow the manufacturer’s disassembly order when it exists; otherwise work large-to-small.
- Pack accessories and small parts last. Collect all connectors, bolts, and small hardware into labeled bags after the large components are crated.
Safe ladder use matters here too. Keep ladders on level ground, maintain three points of contact, and never lean past the side rails. Keep aisles clear of crates and tools while crew members are working overhead.
If your vendor manual specifies a disassembly order, follow it exactly. Manufacturer sequences account for load paths and locking mechanisms that a general rule cannot anticipate.
Pro Tip: Use colored tape or colored zip ties to mark mating parts before you separate them. Red tape on part A and its matching bracket, blue on the next assembly. Reassembly becomes a color-matching exercise instead of a puzzle.
How do you pack and protect graphics, frames, and electronics?
Packing is where most damage happens, and most of it is preventable. Rolling fabric graphics printed-side-out on a wide-diameter tube eliminates the permanent creasing that folding causes. The same care applied to every component category keeps your assets show-ready.
Packing materials to have on hand:
- Padded moving blankets and foam edge protectors for frame sections
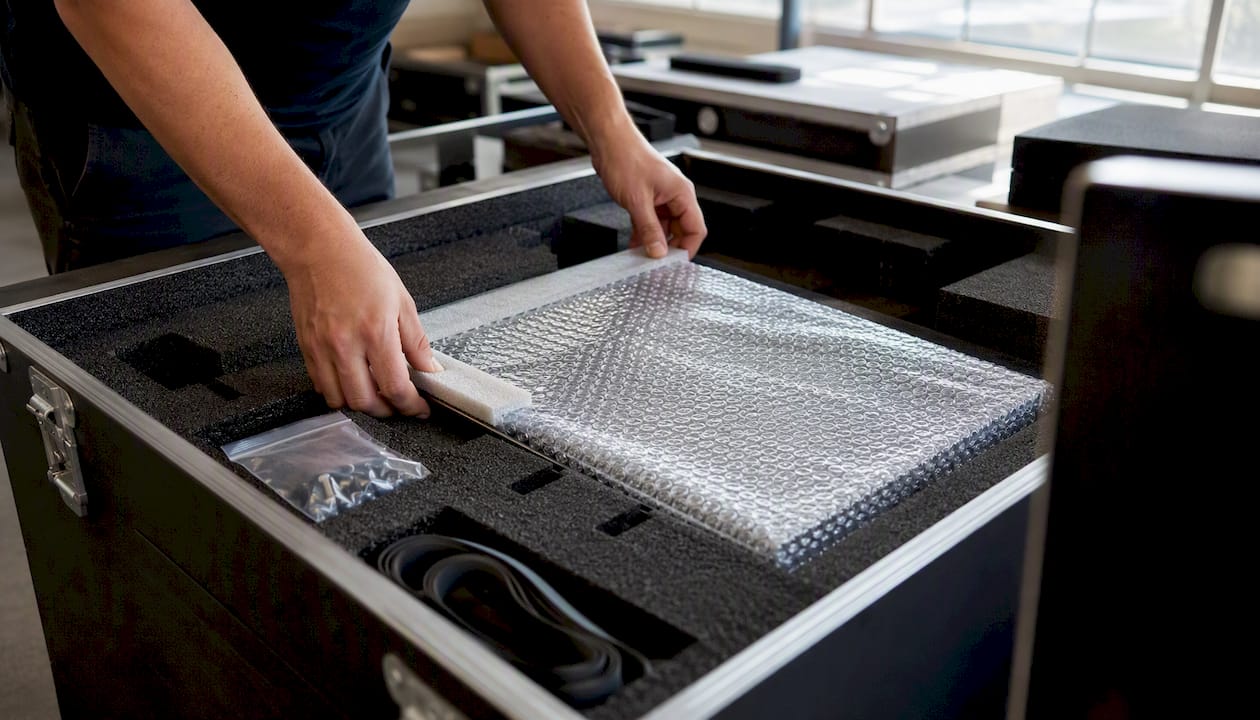
- Bubble wrap and corrugated panels for rigid graphics and monitor screens
- Telescoping tubes (3-inch diameter minimum) for rolled fabric graphics
- Cable ties and labeled hardware bags for connectors and fasteners
- Heavy-duty ATA cases or custom foam-lined crates for monitors and electronics
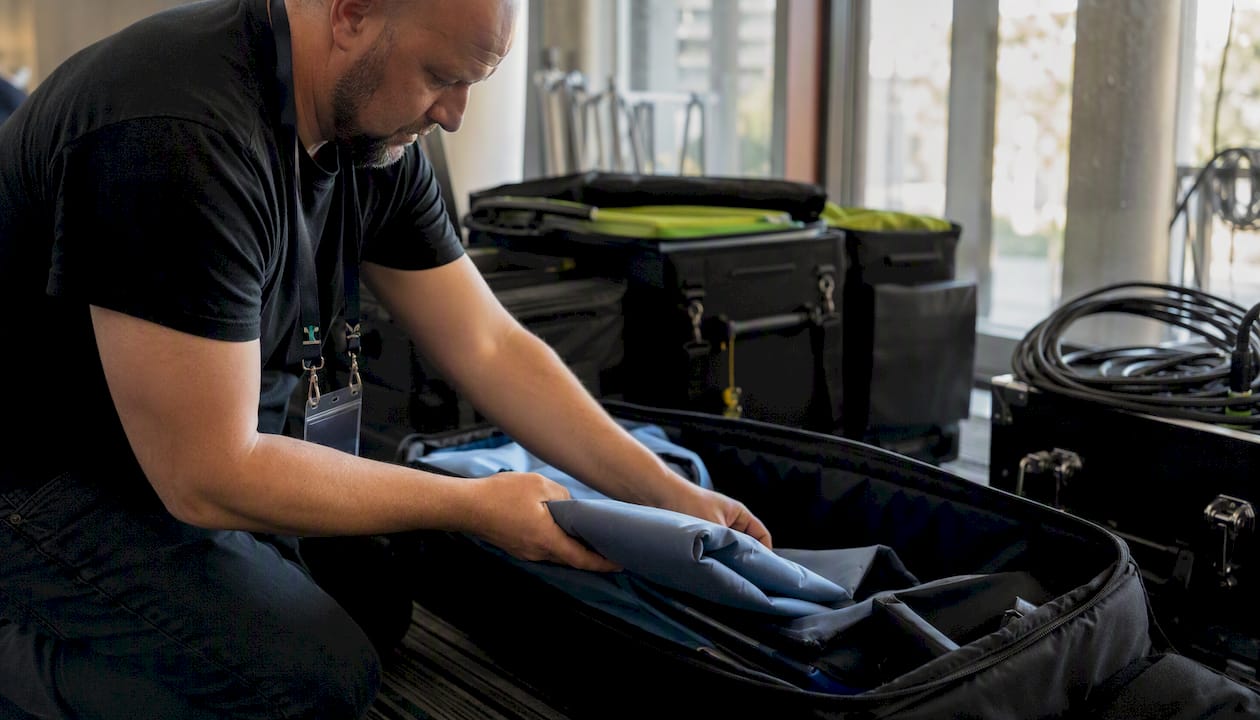
- Soft padded display bags as a backup when original cases are unavailable
How to pack specific items:
Fabric graphics from a 10 ft stretch fabric display roll cleanly onto a wide tube, printed side out, with no wrinkles. Secure the roll with a soft strap, not tape directly on the fabric. Frame sections go into labeled bundles, wrapped at hard points with foam, and grouped by assembly. Monitors travel best in their original foam-lined boxes; if those are gone, wrap the screen in anti-static bubble wrap and build a snug foam cradle inside a rigid crate. Small hardware goes into sealed, labeled zip-lock bags placed inside the crate they belong to.
Remove batteries from any wireless devices before packing. Tape hinges in the closed position to prevent accidental opening during transit. Use void fill to eliminate shifting inside crates.
Pro Tip: When original cases are missing, soft padded display bags protect fabric and lightweight frames well for short hauls. For fragile rigid frames, sketch a simple DIY crating plan: a plywood box with 2-inch foam on all six interior faces.
How do you label crates and build an inventory record?
A crate with no label is a liability. A crate with a clear, consistent label is a time-saver at every future show. Photographing the full hardware kit and labeling every component after each event prevents lost connectors and speeds reassembly significantly.
What every crate label should include:
- Booth ID and company name
- Crate number (e.g., “2 of 4”)
- Brief contents description (e.g., “10x10 frame sections, foam wrapped”)
- Destination: warehouse address or next show venue
- Contact name and phone number
- Fragile flag where applicable
Inventory checklist per crate:
- Component list with quantities
- Serial numbers for all electronics
- Literature counts and promotional item tallies
- A digital photo index of the packed crate before sealing
For your digital workflow, upload all crate photos to a shared cloud folder (Google Drive or Dropbox work well), attach your inventory CSV and any vendor manuals, and email a copy to your shipper and your internal asset manager. This single habit eliminates the “where is the monitor cable?” call two weeks before the next show.
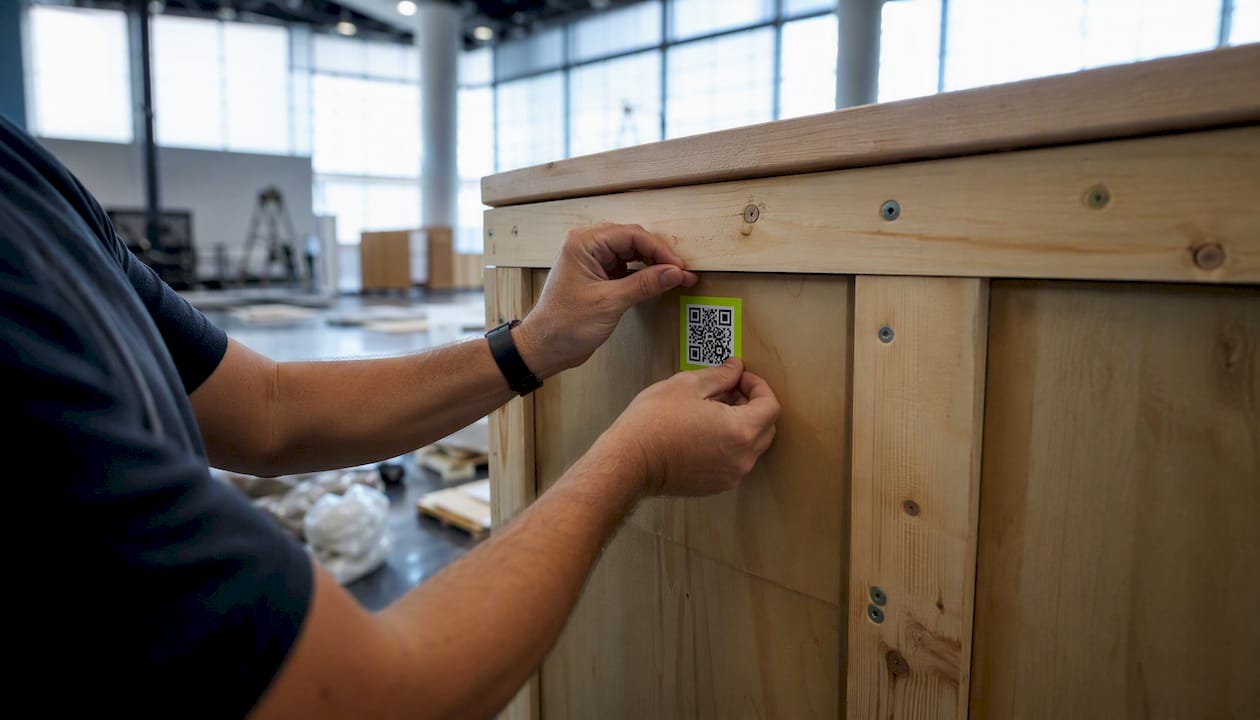
Pro Tip: Print a small QR code label for each crate that links directly to its cloud folder. Anyone on your team can scan it and pull up the photo and packing list in seconds.
Cleaning and light maintenance before you put components away
Storing dirty or damp components is one of the most common causes of long-term display damage. Displays must be clean and completely dry before storage; even slight moisture trapped in a sealed case can cause mold, warping, and delamination within weeks.
Quick cleaning and maintenance checklist:
- Wipe all frame sections and hard surfaces with a dry or lightly damp microfiber cloth
- Let fabric graphics air-dry fully before rolling or bagging; never pack damp fabric
- Remove adhesive residue from frames and counters using isopropyl alcohol on a cloth
- Inspect printed panels for scratches, delamination, or torn grommets
- Tighten any loose fasteners and replace worn grommets before packing
- Tape or bag vulnerable hardware (exposed pins, locking clips) to prevent scratching adjacent parts
- Place silica gel packets inside cases with electronics or moisture-sensitive materials
- Never stack heavy crates or rigid items directly on top of printed panels
Mold can establish itself on fabric within 24–48 hours in a sealed, humid environment. If your fabric graphics got wet at an outdoor show, hang them to dry completely before packing, even if it means a short delay.
What storage option is right for your booth assets?
Where you store your booth matters as much as how you pack it. The right choice depends on your timeline, budget, and the materials involved.
Storage options compared:
- On-site venue storage works for short gaps between back-to-back shows at the same venue. It is convenient but rarely climate-controlled and often expensive per day.
- Off-site warehouse storage suits exhibitors with a regular show schedule. Costs vary by market, but you gain security and more control over access.
- Climate-controlled self-storage is the best choice for fabric graphics, printed panels, and any display with adhesive components. Climate-controlled units and original carrying cases minimize warping, mold, and long-term damage, making them worth the modest premium for exhibitors who reuse premium graphics across multiple shows.
For multi-month storage, always elevate items off concrete floors with pallets. Concrete wicks moisture, and even a sealed case sitting directly on it can develop condensation inside over time.
If your show uses a general service contractor for drayage, they often offer advance warehouse storage. Confirm their cutoff dates and per-hundredweight rates before committing, as costs add up quickly for larger booths.
When graphics are damaged and replacement is the faster path, Arrowhead Sign Company - Signs, Banners and Trade Show Displays ships most replacement displays within two business days, which often beats the lead time for repairing a damaged panel.
How do you handle freight, drayage, and shipping paperwork?
Freight logistics are where poor coordination drives up costs and complexity. Booking your carrier before the show ends, not after, is the single most effective way to avoid overtime drayage charges and missed pickup windows.
Freight and shipping checklist:
- Book your outbound carrier at least 24 hours before show close
- Confirm drayage provider deadlines with the show’s general service contractor
- Complete your Bill of Lading with accurate crate counts, weights, and destination
- Photograph all crates before carrier pickup, noting any pre-existing damage
- Obtain freight insurance for shipments containing electronics or custom-fabricated structures
- Note any visible damage on the carrier’s paperwork at the moment of pickup
ATA cases are the right choice for electronics and precision hardware. Wooden crates suit large, heavy frame sections. Soft cases are acceptable for lightweight fabric displays on short, direct hauls only.
If a crate arrives damaged, your claim depends on three things: the pre-pickup photos, the original packing list, and the notation you made on the carrier’s paperwork at pickup. Missing any one of those makes a claim significantly harder to win.
Pro Tip: Add declared value coverage for any shipment containing monitors, tablets, or custom-fabricated components. Document serial numbers before the show and keep that list separate from the crate.
Printable teardown checklist and packing label template
A printed checklist in your team leader’s hands is worth more than a perfect plan sitting in someone’s inbox. The teardown checklist below covers the full sequence from show close through freight pickup and is designed to be printed single-sided for on-floor use.
Checklist contents:
- BLUF immediate actions (secure, document, assign roles)
- Role assignment sheet with name and responsibility fields
- Timeframe estimates by booth size (tabletop, 10x10, 10x20+)
- Dismantling sequence with sign-off boxes
- Packing materials checklist
- Crate inventory log with serial number fields
- Freight and BOL confirmation section
Packing label template fields:
- Booth ID / Company name
- Crate number (X of Y)
- Contents summary
- Destination address
- Contact name and phone
- Fragile / This Side Up flags
Save both files as PDFs for printing and as CSV for import into your asset management system. Upload them to your cloud folder alongside your booth photos so your whole team accesses the same version. For small-team prep tactics that pair well with this workflow, the small team display prep guide from Arrowhead Sign Company - Signs, Banners and Trade Show Displays covers pre-show and post-show documentation in practical detail.
Common teardown mistakes and how to avoid them
Most teardown problems are predictable, and each one has a one-line fix.
Mistakes and corrections:
- Rushing the pack: Damaged graphics cost more to replace than the 15 minutes saved. Slow down at the packing stage.
- Skipping documentation: No photos means no claim. Photograph before, during, and after packing.
- Losing small hardware: Connectors and bolts left loose on a table disappear. Bag and label them immediately when removed.
- Packing damp fabric: Mold forms fast in a sealed case. Air-dry all fabric completely before rolling and bagging.
- Missing drayage cutoffs: Late freight means overtime charges and possible abandonment. Confirm cutoff times at the start of show day, not at close.
- Skipping the post-teardown inventory check: Missing components discovered at the next show are far harder to trace. Log everything before leaving the floor.
Pro Tip: Schedule a 20-minute debrief with your crew immediately after teardown. Update your asset records on the spot, note any missing or damaged parts, and flag items that need repair or replacement before the next event.
What experienced exhibitors know about teardown that most guides skip
The conventional wisdom says teardown is just setup in reverse. That framing misses something real. Setup happens when your team is fresh, the floor is clear, and you have a plan. Teardown happens when everyone is tired, the aisles are crowded with competing crews, and the clock is running toward a freight cutoff. The physical sequence may mirror installation, but the psychological and logistical conditions are completely different.
The exhibitors who handle it best treat teardown as its own event, not an afterthought. They assign a dedicated team leader whose only job during the last hour of the show is managing the teardown, not working the booth. They run a pre-teardown briefing at the 60-minute mark. They have their packing materials staged and accessible before the doors close.
Photo documentation is the habit that pays the most consistent dividends. Not just for insurance claims, though it matters there too. Photographing assemblies and labeling mating parts reduces reassembly time and improves accuracy for small teams. A two-person crew that photographs every joint and labels every crate at one show can set up the same booth at the next show with one person in less time. That is a real operational advantage for small businesses doing multiple shows a year.
The other underrated move: a post-teardown debrief. Ten minutes on the floor before everyone disperses, updating the asset log and flagging damaged items, saves hours of confusion later. Most exhibitors skip it because they are exhausted. The ones who do it consistently are the ones who show up to the next event prepared.
Fast replacement graphics when teardown reveals damage
Teardown sometimes reveals what the show floor hid: a torn graphic, a scratched frame, or a banner that did not survive the freight. When that happens, speed matters more than anything else.

Arrowhead Sign Company - Signs, Banners and Trade Show Displays prints and ships replacement displays faster than most exhibitors expect. Most products ship within two business days, and local Arizona customers can arrange direct venue delivery. The 10 ft stretch fabric display is a popular quick-replacement backdrop, with vibrant dye-sublimation printing on wrinkle-resistant fabric that packs into a carry bag. For portable signage, the Signicade Deluxe A-Frame Sidewalk Sign ships with two prints included and deploys in under a minute. If you need a durable outdoor frame, the Outdoor Banner Frame from The Banner Bar adjusts from 6 to 8 feet and handles wind and weather at outdoor events. Browse the full range and place your order at Arrowheadsigncompany.
Sources
The following resources informed this guide and offer additional depth on teardown sequencing, storage best practices, and freight logistics.
- Trade Show Booth Installation & Dismantle: The Complete Guide for U.S. Exhibitors
- How to Store Tradeshow Displays | Devon Self Storage
- Craft Fair Booth Teardown: A Vendor’s Step …
Always consult your venue’s exhibitor manual and your drayage provider for show-specific freight cutoffs, storage rates, and handling rules, which vary by event.
FAQ
What is the correct order for tearing down a trade show booth?
Start by securing valuables and powering down electronics, then remove graphics and fabric, disassemble structural frames large-to-small, and pack small hardware last. Following this sequence prevents damage and keeps the crew safe.
How long does a booth teardown typically take?
A tabletop display takes roughly 30 minutes with one person; a 10x10 booth takes 45–60 minutes with two people; a 10x20 island booth requires 2–3 hours with three or more crew members.
What packing materials do I need for post-show booth disassembly?
Use padded blankets and foam edge protectors for frames, telescoping tubes for rolled fabric graphics, bubble wrap and corrugated panels for rigid prints, and labeled zip-lock bags for small hardware and connectors.
How do I protect fabric graphics during storage after a show?
Air-dry fabric completely before rolling it printed-side-out on a wide tube, then store it in a climate-controlled unit. Storing damp fabric in a sealed case causes mold and permanent damage within days.
Where can I get replacement graphics quickly after teardown damage?
Arrowhead Sign Company - Signs, Banners and Trade Show Displays ships most replacement displays, including stretch fabric backdrops and A-frame signs, within two business days, with local Arizona delivery available for urgent orders.
Recommended
- Trade Show Booth Setup Fast: Your 2026 Buyer’s Guide - Arrowhead Sign Company
- How Exhibitors Prepare Display Materials: Small Team Guide - Arrowhead Sign Company
- Trade Show Display Checklist for Small Business Success - Arrowhead Sign Company
- Trade Show Brand Visibility Checklist for Exhibitors - Arrowhead Sign Company