


How Exhibitors Prepare Display Materials: Small Team Guide
Posted by Deeder Dandenhorf on Jul 26th 2026
How Exhibitors Prepare Display Materials: Small Team Guide

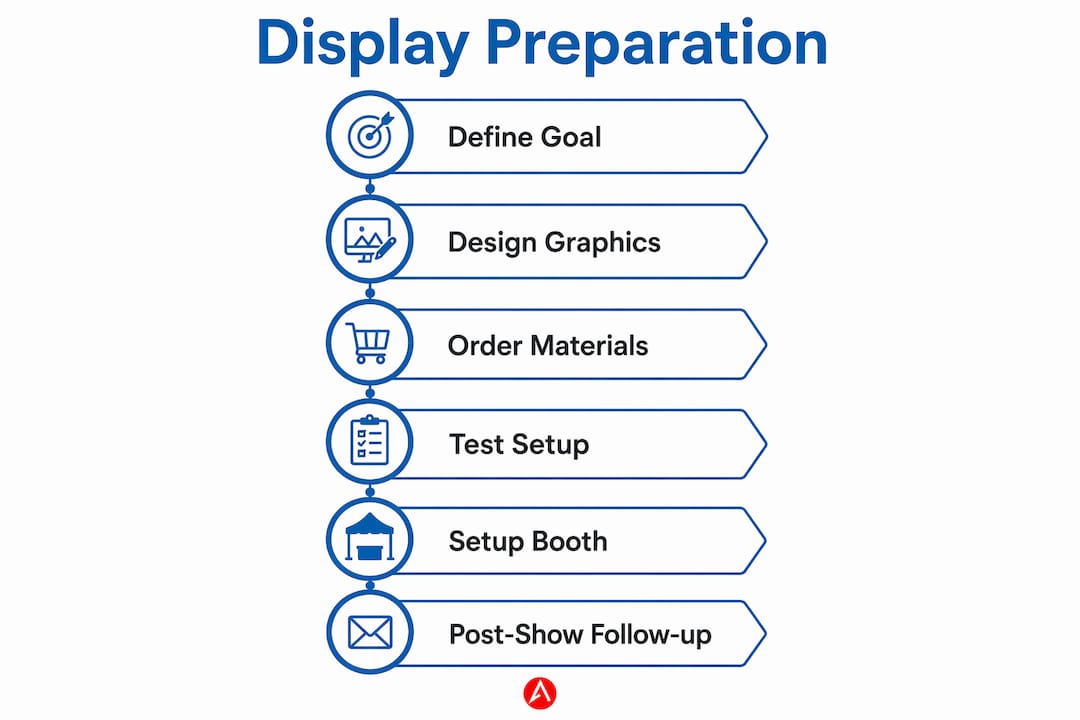
Decide your one primary show goal before you order a single panel or banner. Every display element — backwall, banner stand, printed tent, AV screen — should exist to serve that single objective, whether that’s generating qualified leads, launching a product, or building brand visibility. Focusing every display item on a single primary objective increases conversion and simplifies creative approvals across small teams. Once that goal is locked, your checklist falls into place: design graphics for three viewing distances, confirm production lead times with your vendor, book drayage and AV early, and assign clear staff roles before show week. Skipping any one of these steps is where small teams lose time, money, and booth impact.
Pro Tip: Write your one show goal at the top of every design brief and vendor email. It keeps every decision anchored and prevents scope creep from turning a clean booth into a cluttered one.
For a full exhibitor checklist tailored to small businesses, the trade show display checklist from Arrowhead Sign Company - Signs, Banners and Trade Show Displays is a practical starting point.
Table of Contents
- How do exhibitors prepare display materials on a realistic timeline?
- What design and messaging rules actually work on the show floor?
- Which display materials should small teams actually bring?
- How do you prepare print files to avoid costly reprints?
- What AV and tech do you need, and how do you test it before the show?
- How many staff do you need, and what roles should they cover?
- How do you handle shipping, drayage, and booth setup efficiently?
- How do you run the booth effectively once the show opens?
- What should your post-show follow-up look like?
- When does a local rapid-fulfillment vendor make sense?
- What compliance and safety rules apply to your booth?
- Key Takeaways
- What experienced exhibitors wish they had known sooner
- Fast display production when your timeline is tight
- Useful sources for exhibitors preparing display materials
How do exhibitors prepare display materials on a realistic timeline?
Start several months out. That window sounds generous until you factor in custom fabrication, proof rounds, shipping lead times, and show manual deadlines that most venues enforce strictly.
Recommended planning timeline:
- several months before: Set your show goal, confirm booth size, review the show manual, and allocate your budget across all line items.
- a few months before: Finalize booth design concept, select vendors, order custom-fabricated elements, and begin graphic design.
- several weeks before: Submit print-ready files, complete proof approvals, order promotional materials and giveaways, and book AV rentals.
- a few weeks before: Confirm shipping dates, arrange drayage, train booth staff, and run a full tech test.
- just before the show: Pack cases, label everything, ship to venue or advance warehouse, and confirm delivery windows.
- Show week: Arrive early on move-in day, supervise setup, test all technology, and verify graphic installation.
Budget line items to plan for:
| Line Item | Notes |
|---|---|
| Booth space rental | Usually the largest single cost; paid to show organizer |
| Display structure and graphics | Backwall, banner stands, panels, printed tent |
| AV and technology | Screens, media players, cables, surge protectors |
| Electrical and rigging | Often billed separately by the venue |
| Drayage and material handling | Charged by show contractor per hundredweight |
| Installation and dismantle labor | Union or show-contractor labor at many venues |
| Furniture rental | Tables, chairs, counters if not part of your structure |
| Shipping (to/from venue) | Both directions; budget for return freight |
| Promotional materials and giveaways | Brochures, samples, branded items |
| Contingency | Hidden costs routinely double initial budgets |
A standard 10x10 booth typically costs between $4,250 and $16,000 all-in, including space rental, structure, furniture, signage, lighting, and electrical.
What design and messaging rules actually work on the show floor?
The three viewing distances are the single most useful framework for booth graphic design, and most first-time exhibitors ignore them entirely.
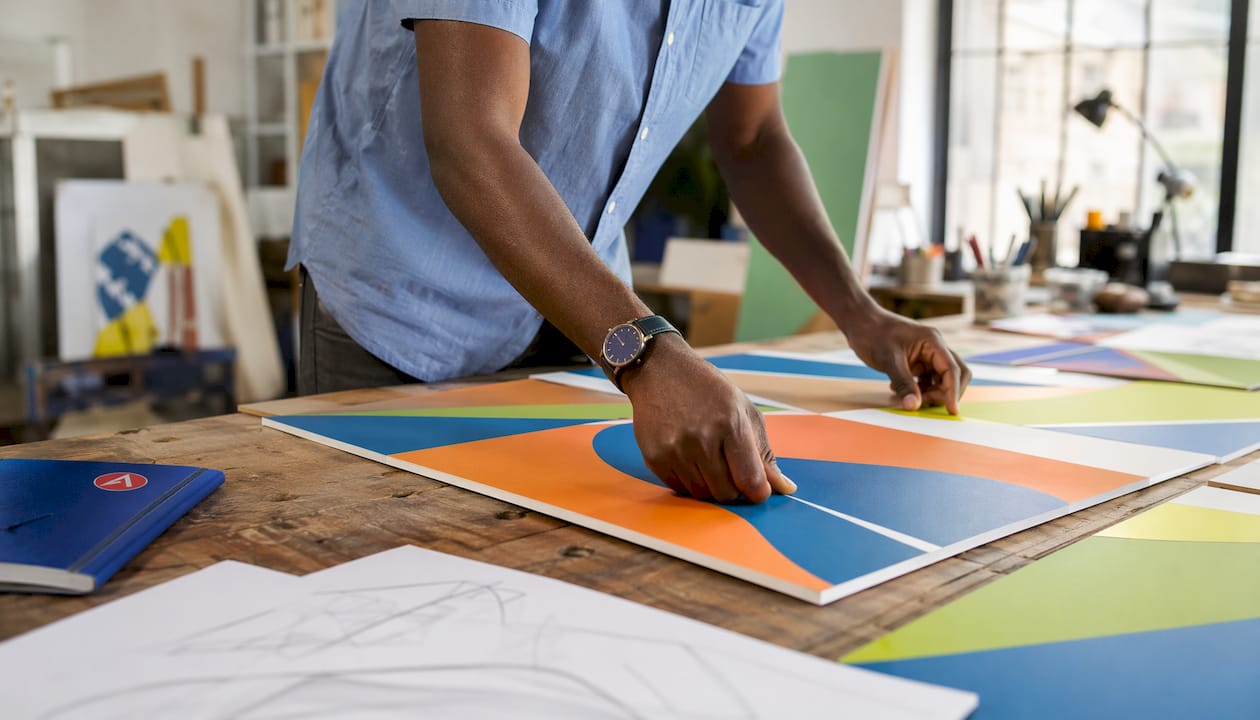
Distance 1: Across the aisle (above 2.5 meters). This is your headline zone. Place your most important message here, above 2.5 meters, in 5–7 words maximum. Attendees walking past at speed will read nothing longer. Think of it as a billboard, not a brochure.
Distance 2: About 15 feet away. At this range, a curious attendee is deciding whether to walk over. Your secondary message goes here: a short value statement, a product category name, or a compelling visual that rewards a second look.
Distance 3: About 3 feet (at the booth). Only engaged visitors reach this distance. Detailed specs, QR codes, brochures, and product demonstrations belong here, not on your backwall headline.
Design do/don’t checklist:
- Do use high-contrast color combinations (dark background, light text or vice versa) for all headline graphics.
- Do stick to one or two brand fonts; never mix more than two typefaces on a single panel.
- Do use large, high-resolution photography (300 dpi minimum for print) that communicates your product or service at a glance.
- Don’t crowd the headline zone with logos, taglines, and product names simultaneously.
- Don’t use light gray text on white backgrounds or any low-contrast pairing.
- Don’t write paragraph-length copy on any panel above waist height.
For more on headline design and typography contrast, the booth signage design guide from Arrowhead Sign Company - Signs, Banners and Trade Show Displays covers typeface sizing and contrast ratios in practical detail.
Pro Tip: Build a modular messaging template: one master layout with swappable headline and hero image zones. Re-skinning graphics for a new show costs a fraction of redesigning from scratch, and your booth looks intentional rather than recycled.
Which display materials should small teams actually bring?
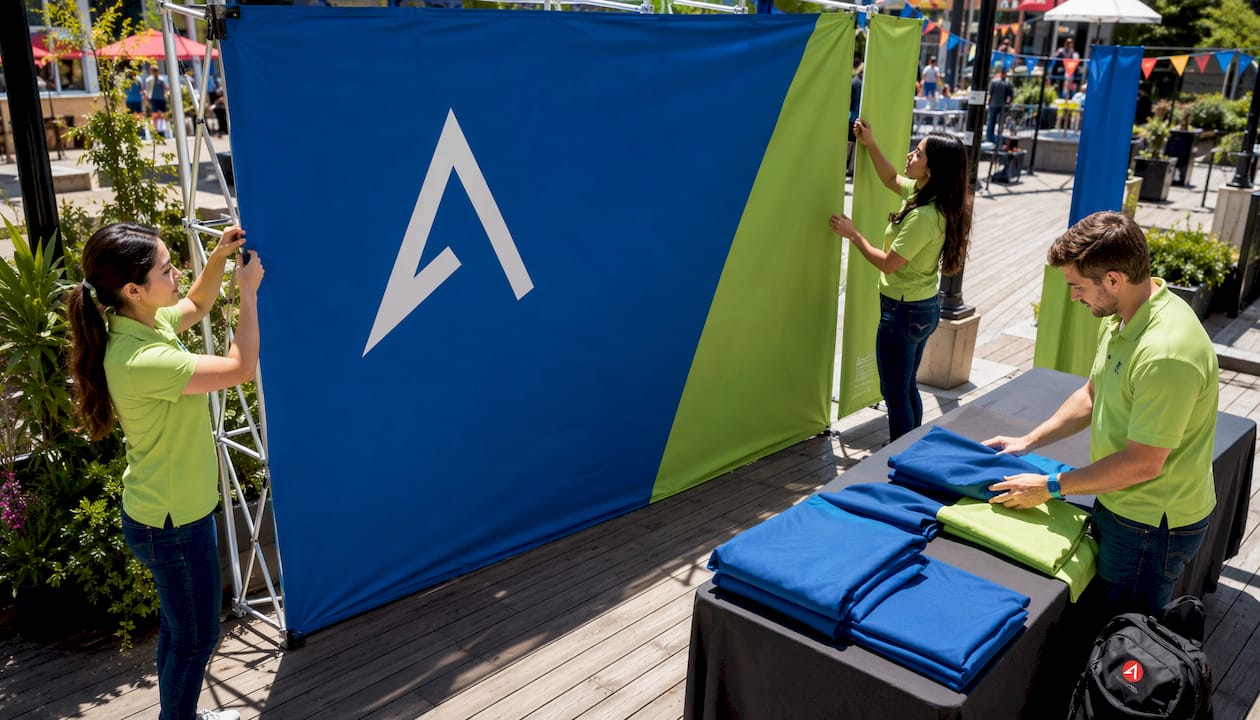
Pop-up frames and fabric tension displays pack into one or two cases, set up in roughly 30 minutes, and deliver a clean, professional appearance — often the best balance for small teams. That said, the right mix depends on your booth size, budget, and how many shows you plan to attend in a season.
| Display Type | Setup Time | Pack Size | Reusability | Best For |
|---|---|---|---|---|
| Retractable banner stand | 5 min | 1 carry bag | High | Flanking displays, directional signage |
| 10 ft stretch fabric backwall | 30 min | 1–2 cases | High | Primary backwall, clean branded look |
| Pop-up frame with graphics | 30 min | 2 cases | Medium-High | Full backwall, curved or straight |
| Modular panel system | 30 min | Multiple cases | High | Larger booths, reconfigurable layouts |
| Printed tent (10x10) | 30 min | 1–2 bags | High | Outdoor events, branded canopy |
| Hanging sign | 30+ min (rigging) | 1 case | Medium | High-visibility overhead branding |
Sustainability note: Reusable, modular systems that are re-skinned each show reduce waste and lower per-show costs across a full season. Spend on the frame; economize on graphics by designing for easy reprinting.
For a deeper look at portable options and setup times, the portable display options guide from Arrowhead Sign Company - Signs, Banners and Trade Show Displays covers the tradeoffs in detail.
How do you prepare print files to avoid costly reprints?
File errors are the most common cause of last-minute reprints, and reprints at show week cost two to three times the standard rate. Get these specs right before you submit.
Standard file specs to confirm with your vendor:
- Resolution: 100–150 dpi at full print size (not 72 dpi screen resolution).
- Color profile: CMYK, not RGB. Convert all files before submission.
- Bleed: minimum 0.125 inches on all sides; confirm vendor requirement (some large-format vendors require more).
- Safe zone: keep all critical text and logos at least 0.5 inches inside the trim line.
- File format: print-ready PDF or high-resolution TIFF; confirm accepted formats with your vendor.
- Crop marks: include on all files unless the vendor specifies otherwise.
Proofing steps, in order:
- Run a preflight check in Adobe Acrobat or your design application to catch missing fonts, low-resolution images, and RGB elements.
- Request a digital PDF proof from your vendor and review it at 100% zoom on a calibrated monitor.
- For large-format graphics, request a physical match print (a section printed at actual size) to verify color accuracy under show-hall lighting conditions.
- Assign one person as the sign-off authority. Version-control your files with clear naming (e.g., “BackwallV3_APPROVED.pdf”) and freeze the file the moment it is approved.
- Never send a revised file after approval without restarting the proof cycle.
The booth graphics printing guide from Arrowhead Sign Company - Signs, Banners and Trade Show Displays walks through the full print process and what to check at each stage.
What AV and tech do you need, and how do you test it before the show?
Decide early what to bring versus what to rent onsite. Renting screens and media players from the show contractor is convenient but expensive. Bringing your own gear gives you control over specs and setup time, provided you test everything thoroughly before it leaves your office.
AV and tech checklist:
- Screens or monitors (confirm size fits your booth footprint and viewing distance).
- Media player or laptop with all presentation files loaded locally (never rely on streaming).
- HDMI cables, DisplayPort adapters, and at least one spare of each.
- Power strips with surge protection (check show rules on extension cords).
- Backup USB drives with all media files.
- Wireless presenter remote with fresh batteries.
- Gaffer tape and cable management ties.
- Spare batteries for any wireless devices.
Pre-show test plan:
- Set up the full AV rig in your office or warehouse at least one week before shipping.
- Play all video and presentation content from start to finish; check resolution, audio levels, and loop behavior.
- Test every cable and adapter combination you plan to use on the show floor.
- Simulate the demo flow with a staff member playing the role of a visitor; time each demo segment.
- Confirm that any network-dependent demos have an offline fallback (downloaded content, local server, or cached data).
- Pack all AV gear in labeled, padded cases and include a printed inventory inside each case.
How many staff do you need, and what roles should they cover?
A common rule of thumb: one representative for every 50 square feet of booth space. For a standard 10x10 booth, that means two people at minimum. Overstaffing creates a crowded, intimidating booth; understaffing leaves visitors unengaged.
Role assignments for a small team:
- Greeter: Stands near the booth edge, makes eye contact, opens conversations with a short qualifying question rather than a product pitch.
- Demo lead: Runs the product demonstration or presentation; knows the script cold and can adapt the length based on visitor interest.
- Closer/follow-up owner: Captures lead information, qualifies the contact, and takes responsibility for post-show outreach.
- Floater/runner: Handles restocking, manages giveaways, assists where needed, and covers breaks.
- Technical support (if needed): Monitors AV and tech; resolves issues without disrupting demos.
Staff training checklist:
- Brief everyone on the one show goal and the qualifying questions that identify your ideal prospect.
- Practice the elevator pitch (30 seconds maximum, one clear benefit statement, one call to action).
- Walk through the demo flow twice before the show opens; time it.
- Confirm the lead-capture process: what information to collect, which app or form to use, and how to add qualification notes.
- Assign shift schedules so no one stands for six hours straight.
Position staff near the booth edge, not behind a counter. Counters placed parallel to the aisle act as physical barriers and reduce walk-in traffic.
How do you handle shipping, drayage, and booth setup efficiently?
Drayage is the material handling service that moves your freight from the loading dock to your booth. It is billed by the show contractor, typically per hundredweight, and it applies even if you hand-carry boxes from your car. Budget for it; it surprises almost every first-time exhibitor.
Packing checklist:
- Label every case with your company name, booth number, show name, and venue address on all four sides.
- Mark fragile items clearly and pack them with adequate cushioning.
- Include a tool kit: screwdrivers, zip ties, scissors, gaffer tape, a rubber mallet, and a level.
- Pack cable management supplies (velcro ties, cable clips) in an accessible outer pocket.
- Create a printed case inventory and tape a copy inside the lid of each case.
Shipping and drayage decisions:
- Compare common carrier (FedEx, UPS) rates against show contractor advance warehouse rates for your shipment size.
- Ship to the advance warehouse (if the show offers one) rather than direct-to-venue when possible; it reduces move-in day chaos.
- Confirm the advance warehouse acceptance window in the show manual; shipments arriving outside that window incur surcharges.
- Keep tracking numbers and delivery confirmations accessible on your phone during move-in.
Teardown roles:
- Assign one person as teardown lead before the show starts; they own the packing list and case count.
- Photograph the booth at full setup so you can replicate it at the next show.
- Pack graphics first, then structure, then AV; label cases as they are packed.
- Confirm outbound shipping labels are printed and attached before teardown begins.
How do you run the booth effectively once the show opens?
Traffic flow and demo cadence are the two levers small teams control most directly on the show floor. Layout decisions made before the show determine how many people walk in; demo discipline determines how many convert.
Layout and traffic flow reminders:
- Create two entry points to your booth, not one; a single entry creates a bottleneck.
- Remove any counter or table that runs parallel to the aisle; it signals “do not enter.”
- Place your most visually engaging element (a demo screen, a product display, a large graphic) at the back of the booth to draw visitors in.
Demo cadence and lead capture:
- Keep demos to 5–7 minutes maximum for walk-in visitors; save the extended version for pre-scheduled meetings.
- Use a visual anchor (a product, a screen, a prop) to gather small groups rather than pitching one-on-one repeatedly.
- Schedule two or three “highlight” demo times per day and promote them on social media before the show.
- Capture leads immediately after each conversation using a mobile CRM or lead-capture app; AI and mobile CRM tools speed lead capture and automate follow-up sequences for small teams.
- Qualify every lead with at least two notes: their primary interest and their timeline to purchase.
Giveaway best practices:
- Tie giveaways to a qualifying action (a badge scan, a demo attendance, a business card drop) rather than handing them to everyone who walks past.
- Choose items with practical utility over novelty; they stay on desks longer and keep your brand visible.
What should your post-show follow-up look like?
The follow-up timeline is where most of the ROI from your display investment is either captured or lost. Speed matters more than polish in the first 72 hours.
Follow-up timeline:
- 24–72 hours: Send a personal email or call to every hot lead captured at the show. Reference a specific detail from your conversation.
- 1–3 weeks: Run a nurture sequence for warm leads: two to three touchpoints with relevant content, a case study, or a product demo invitation.
- 30–90 days: Track conversion checkpoints: qualified leads that became proposals, proposals that became customers.
Key metrics to track:
- Total qualified leads captured (not badge scans; actual qualified contacts).
- Demo-to-close rate: what percentage of demo attendees became customers within 90 days.
- Cost per qualified lead: total show spend divided by qualified lead count.
- Engagement signals tied to specific display elements (which graphic, demo, or giveaway drove the most conversations).
Post-show debrief template:
- What was the one show goal, and did you achieve it?
- Which display elements generated the most engagement?
- What would you change about the booth layout, graphics, or staffing?
- Which display materials are in good enough condition to reuse? Which need reprinting or replacing?
- What is the next show date, and what needs to be ordered before then?
For lead capture workflows and post-show tactics, the trade show lead generation guide from Arrowhead Sign Company - Signs, Banners and Trade Show Displays covers qualification frameworks in practical detail.
When does a local rapid-fulfillment vendor make sense?
Not every display need fits a six-month planning window. Last-minute reprints, a new show added to the calendar, or a graphic that arrived damaged in transit all require a vendor who can turn work around in days, not weeks.
Use cases where local, fast-fulfillment vendors are the right call:
- A graphic panel was damaged in shipping and the show opens in four days.
- You added a regional show to the calendar with three weeks’ notice.
- You need a single banner reprinted with updated pricing or a new product name.
- You want to re-skin a modular display with new graphics between two shows scheduled close together.
What reliable service should include:
- Two-business-day turnaround on most standard products.
- A proof-on-approval workflow before production begins.
- Direct-to-venue delivery so materials arrive at the show hall without you coordinating a separate shipment.
- Local pickup as an option for genuinely urgent orders.
A 10 ft stretch fabric display is a practical example of the kind of product that suits this model: it sets up in under 30 minutes, packs into one or two cases, and the fabric graphic can be reprinted and swapped without replacing the frame. For small teams prioritizing quick setup and a professional appearance, it covers the backwall without requiring a large crew or specialized tools.
Pro Tip: Keep your print-ready files organized in a shared folder with clear version labels. When you need a rush reprint, you can send the approved file immediately instead of spending a day tracking down the right version.
For fast-setup options and what to expect from a quick-turnaround vendor, the trade show booth setup guide from Arrowhead Sign Company - Signs, Banners and Trade Show Displays is worth reviewing before your next show.
What compliance and safety rules apply to your booth?
Trade show compliance is not optional, and violations can result in fines, forced teardown, or loss of your booth space. Every show publishes a show manual (also called an exhibitor services manual) that contains the binding rules for your event.
Key compliance areas to review in every show manual:
- Height restrictions: Most shows cap inline booth height at 8 feet; island booths may allow taller structures. Hanging signs typically require advance approval and rigging by show contractors.
- Fire and safety codes: Fabric and materials must meet local fire-retardant standards. Many venues require documentation (a flame-spread certificate) for fabric displays and printed textiles.
- Electrical: All electrical work must be performed by the show’s designated electrical contractor at most venues. Bring your own power strips only if the manual permits it, and confirm surge protection requirements.
- ADA compliance: Booth layouts must maintain accessible pathways. Counters and displays should not block aisle access.
- Noise and lighting: Demos with audio must stay within the decibel limits stated in the manual. Lighting that projects outside your booth footprint is typically prohibited.
- Structural approval: Custom-built structures above a certain height (often 8 feet) may require engineer-stamped drawings submitted in advance.
Read the show manual before you finalize your booth design, not after. A hanging sign that was not pre-approved or a fabric display without a flame certificate can be pulled from the floor on move-in day.
Key Takeaways
Preparing display materials effectively comes down to one goal, three viewing distances, and a timeline that starts at least three months before the show opens.
| Point | Details |
|---|---|
| One-goal principle | Define a single show objective before designing anything; every display element should serve that goal. |
| Three viewing distances | Design headline graphics for across the aisle (5–7 words max), secondary messages for 15 feet, and detail content for 3 feet. |
| Staffing ratio | Plan for one booth representative per 50 square feet; understaffing and overstaffing both reduce engagement. |
| Budget for hidden costs | Drayage, electrical, installation labor, and last-minute reprints routinely double initial display structure budgets. |
| Arrowhead Sign Company | Arrowhead Sign Company - Signs, Banners and Trade Show Displays ships most products within two business days and delivers directly to venues, making them a reliable option for rush reprints and last-minute display needs. |
What experienced exhibitors wish they had known sooner
The biggest gap between a well-prepared booth and a stressful one is almost never the display itself. It is the small operational decisions made in the week before the show.
Pack a physical emergency kit and keep it in your carry-on, not in the freight shipment. Include gaffer tape, zip ties, a multi-tool, extra business cards, a portable phone charger, and a printed copy of your booth number, move-in time, and venue contact. These items cost almost nothing and save hours when something goes wrong on move-in day, which it will.
Run a dress rehearsal. Set up the full booth in your office or warehouse at least once before the show. You will find the missing hardware, the graphic that does not fit the frame, and the AV cable that is two feet too short. Finding those problems at home costs an afternoon; finding them on the show floor costs a day and a lot of stress.
The most common mistakes are predictable: overstaffing a small booth so it feels crowded and unapproachable, writing too much copy on headline panels, and skipping the proof check because the deadline felt far away. The proof check is the one you cannot skip. A color shift or a typo on a 10-foot backwall is visible to every person who walks past your booth for three days.
Assign a teardown lead before the show opens, not at the end of day three when everyone is exhausted. That person owns the packing list, the case count, and the outbound shipping labels. Teardown without a lead is how display materials get left behind, damaged, or shipped to the wrong address.
Fast display production when your timeline is tight
When your show date is close and your display materials are not ready, Arrowhead Sign Company - Signs, Banners and Trade Show Displays delivers where most vendors cannot: most products ship within two business days, and direct-to-venue delivery means your materials arrive at the show hall without you managing a separate freight coordination.

Their product range covers the full small-team toolkit: retractable banner stands, custom printed tents, and the 10 ft stretch fabric display that sets up in under 30 minutes and packs into one or two cases. For exhibitors in Arizona, local pickup is also available. Before you place your order, confirm your venue’s flame-retardant requirements and delivery window from the show manual, then send your print-ready files with bleed and crop marks included to speed production. Get a quote and check current turnaround times at arrowheadsigncompany.com.
Useful sources for exhibitors preparing display materials
These references support the production decisions, design rules, and logistics guidance covered in this guide. Review your show manual and your vendor’s proofing page before final sign-off on any file.
- Trade Show Exhibitor Tips: 10 tips to maximize your results — practical exhibitor guidance from a professional association.
- Get Trade Show Ready: A First-Time Exhibitor Checklist — Freeman’s checklist covers move-in logistics, staffing, and show-floor execution.
- Exhibit Planning Timeline: A Complete Guide — detailed month-by-month timeline with budget and production milestones.
- 9 Secrets to Creating Trade Show Displays That Wow the Crowd — design and engagement tips from The Small Business Expo.
- Visual marketing display best practices — Arrowhead Sign Company - Signs, Banners and Trade Show Displays’s guide to visual design and proofing for trade show graphics.
- Trade show brand visibility checklist — a concise checklist covering messaging hierarchy, booth design, and staff roles.
- CROWD Company — growth and print-tech vendor with NFC-enabled and smart print options for experiential follow-up materials.
Recommended
- Trade Show Display Checklist for Small Business Success - Arrowhead Sign Company
- Portable Display Options for Marketing Events: 2026 Guide - Arrowhead Sign Company
- Budget Trade Show Materials List for Small Businesses - Arrowhead Sign Company
- Trade Show Display Types Explained for Marketers - Arrowhead Sign Company