

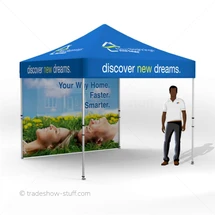
Custom Printed Tent Setup for Outdoor Events: 2026 Guide
Posted by Deeder Dandenhorf on Jul 11th 2026
Custom Printed Tent Setup for Outdoor Events: 2026 Guide
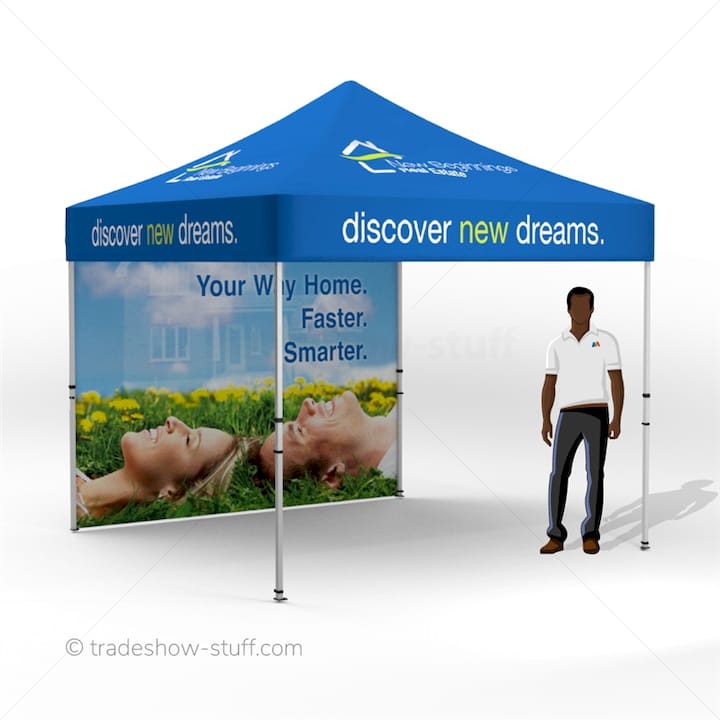
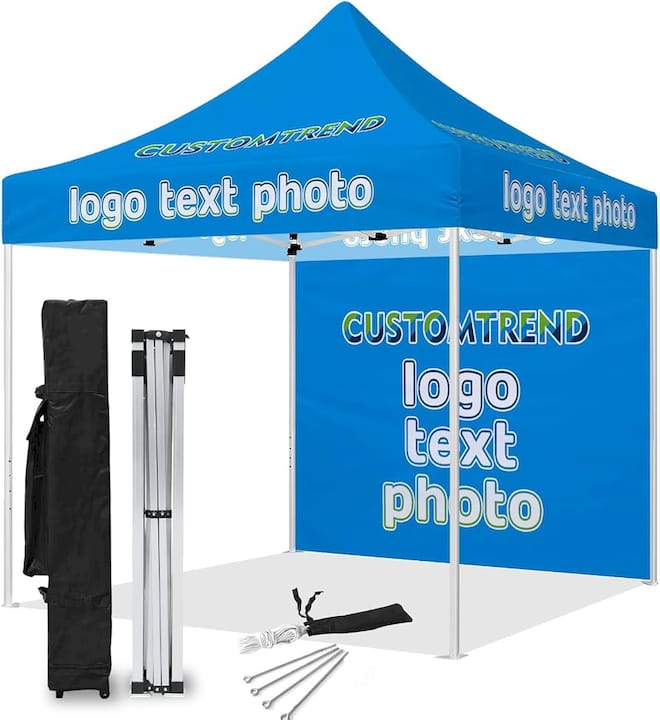
A custom printed tent setup for outdoor events is defined as the full process of assembling, anchoring, and positioning a branded canopy structure to create a visible, stable, and weather-ready presence at any outdoor venue. Event organizers who get this process right gain a significant advantage: their booth stands out, stays safe, and holds up through wind, heat, and foot traffic. The industry term for the core structure is a “pop-up canopy tent,” though branded versions are also called printed event canopies or custom pop-up tents. This guide covers every stage, from site assessment and tool prep to anchoring methods, branding decisions, and troubleshooting on the day of your event.
What does a custom printed tent setup for outdoor events require?
Every successful branded event tent setup starts before you arrive at the venue. You need the right tools and a clear picture of your site conditions. Missing either one causes delays, instability, or safety problems.
Required tools for setup:
-
Rubber mallet for driving stakes
-
Measuring tape to confirm spacing and clearance
-
Sandbags or concrete block weights for leg anchoring
-
Ground stakes and guy lines for soft terrain
-
Level to check leg height uniformity
-
Manufacturer’s instruction sheet (keep it in the carry bag)
Site assessment matters as much as the tools themselves. Check the terrain type: grass, asphalt, concrete, and packed dirt each require different anchoring methods. Look for underground utilities, drainage channels, and overhead obstacles like power lines or tree branches. Confirm your footprint fits within the permitted event space, including clearance for guy lines extending outward from each corner.
Sizing your tent to your event goals is a decision that affects both visibility and logistics. A 10x10 ft canopy suits a single-booth trade show setup. Larger formats, such as 10x20 ft or 20x20 ft structures, work better for product demonstrations, team stations, or large party tent rental scenarios where multiple staff operate under one roof.
| Anchoring method | Best surface | Holding strength | Notes |
|---|---|---|---|
| Ground stakes at 45° angle | Grass, dirt | High | Driving stakes at 45° improves pull-out resistance |
| Sandbag weights | Any surface | Moderate to high | At least 20 lbs per leg required for wind stability |
| Concrete block weights | Asphalt, concrete | High | Best for hard surfaces where stakes cannot penetrate |
| Guy lines with stakes | Soft ground | Very high | Extend outward at angle; mark lines with bright tape for safety |
Pro Tip: Pack your tools in a labeled kit bag and do a dry run of your setup at home before the event. Practicing setup at home reduces errors like incomplete pin locking and uneven leg heights that cause instability on event day.
How do you assemble and secure a custom printed canopy tent step by step?
Assembly follows a fixed sequence. Skipping steps or rushing through them causes frame failures and canopy damage. Follow this order every time.
-
Lay out all components on a clean, flat surface. Confirm you have all frame sections, the canopy top, leg extensions, stakes, and weights before starting.
-
Expand the frame to its half-open position. Do not fully extend it yet. Keep it low to the ground while you connect all cross-bar sections.
-
Attach the canopy top to the frame while it is still at half height. Secure all corner clips and zipper attachments before raising.
-
Raise the frame to full height with at least two people, one at each side. Lock all push-button pins and slider mechanisms firmly. An unlocked pin is the most common cause of sudden frame collapse.
-
Adjust leg heights so all four legs sit level. Uneven leg heights distribute wind load improperly and can cause frame failure under stress.
-
Drive ground stakes at a 45° angle away from the tent at each corner. Connect guy lines from the frame to the stakes and tension them firmly.
-
Place leg weights on each foot. Use sandbags or concrete blocks weighing at least 20 lbs per leg to maintain stability in variable wind.
-
Tension the canopy fabric by adjusting the frame sliders. A taut canopy sheds wind better than a loose one.
-
Do a final walk-around to check every pin, clip, stake, and weight before opening your booth.
Frame material affects how well your tent holds up under pressure. Powder-coated steel or aluminum frames resist bending and rust far better than lightweight alternatives. Lightweight frames tend to buckle under stress, risking injury and equipment damage. Choose your frame based on the wind exposure at your typical event locations.
Canopy design also plays a role in structural performance. Wind vents built into the roof reduce internal pressure during gusts, which lowers the risk of the canopy lifting or inverting. If you regularly set up at open-field events, a vented canopy is a worthwhile specification to request.
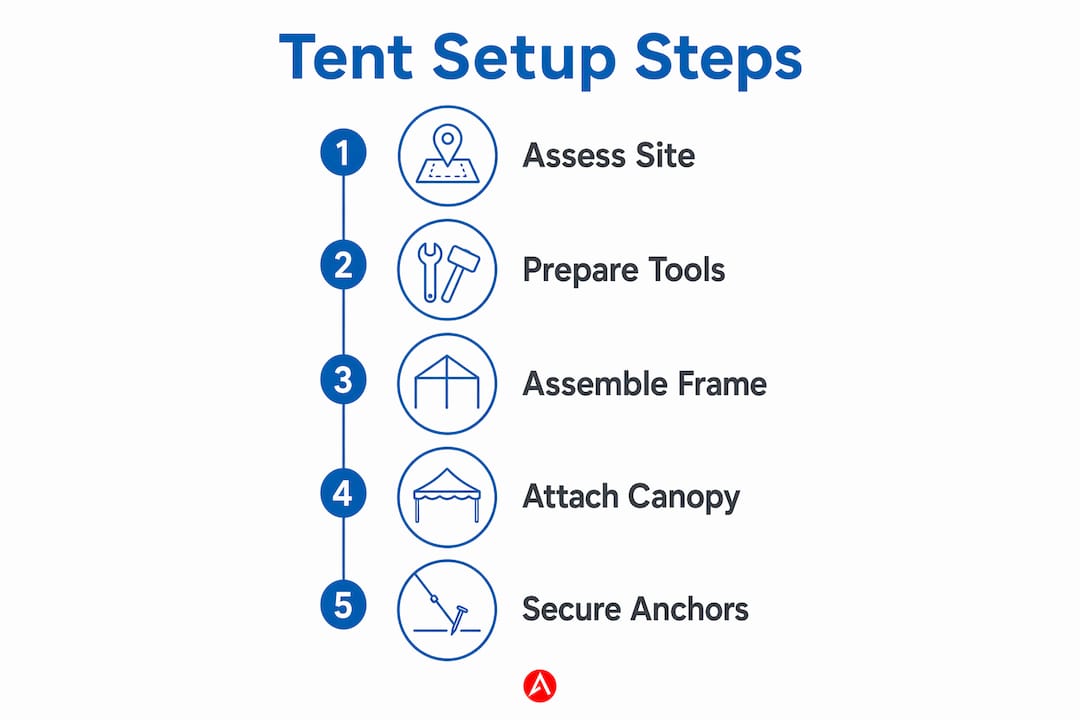
Pro Tip: Assign specific roles before setup begins. One person manages the frame, one handles the canopy attachment, and one manages anchoring. Role clarity cuts setup time and prevents the confusion that leads to missed steps.
What are the most common setup mistakes and safety risks to avoid?
Setup errors cluster around three areas: frame assembly, anchoring, and weather response. Knowing what to watch for lets you correct problems before they become hazards.
Quick safety checklist:
-
All push-button pins fully extended and locked
-
Canopy fabric taut with no pooling areas that collect water or catch wind
-
All four legs level and at equal height
-
Weights and stakes in place before the canopy is raised to full height
-
Guy lines marked with bright tape or flags so attendees do not trip
-
No setup within range of power lines or overhead hazards
Critical safety warning: Avoid setting up custom printed tents if wind speeds exceed 15 mph. Check weather forecasts before the event and monitor conditions throughout the day. At the first sign of strong gusts, lower and secure the tent immediately. A canopy that becomes airborne is a serious injury risk to everyone nearby.
Weather response is the area where most event organizers are underprepared. Wind speed limits are not suggestions. A tent that survives a light breeze can fail suddenly when a gust hits an improperly anchored structure. Keep a portable anemometer or use a weather app with real-time wind readings at your event location.
Ongoing inspection during the event matters as much as the initial setup. Walk the perimeter of your tent every hour during multi-day events. Check that stakes have not shifted, weights have not been moved, and all frame connections remain locked. Proper storage after the event also extends the life of your tent. Clean and dry the canopy before folding, and store it away from moisture, direct sun, and pests.
Safe teardown follows the reverse of setup. Lower the frame before removing the canopy. Remove stakes and weights before collapsing the frame. Never collapse a tent while it is still anchored, as this bends the frame and damages the fabric.
How do branding and design choices affect your outdoor event tent?
Your printed event canopy is the most visible element of your booth. Design decisions made before printing determine whether your tent draws attention or blends into the background.
Fabric quality is the foundation. Polyester with reinforced seams offers durability and maintains color vibrancy under repeated outdoor use. UV treatments extend the life of printed colors, which matters when your tent spends full days in direct sunlight. Cheap fabric fades quickly and undermines your brand reputation at every event you attend.
Color selection should reflect your brand identity while accounting for outdoor visibility. High-contrast color combinations read clearly from a distance. Full-color dye-sublimation printing delivers the sharpest results for logos and photography. For guidance on how your tent fits into a broader outdoor presence, the outdoor event signage best practices framework from Arrowhead Sign Company - Signs, Banners and Trade Show Displays covers complementary signage choices that work alongside your canopy.
| Branding element | Visual impact | Practical consideration |
|---|---|---|
| Full-color printed canopy top | Very high | Visible from all angles; use UV-resistant inks |
| Custom side walls with logo | High | Adds privacy and wind protection; increases setup time |
| Branded table covers | Moderate | Reinforces identity at eye level for approaching visitors |
| Retractable banner stands | High | Portable, quick to set up, extends brand presence beyond the tent footprint |
| LED lighting strips | Moderate to high | Effective at dusk or indoor-adjacent setups; requires power source |
Accessories extend your brand beyond the canopy top. Custom side walls add wind protection and create a defined booth space. Retractable banners placed at the tent entrance guide foot traffic and reinforce your message. For a complete picture of how these elements work together, the trade show brand visibility checklist from Arrowhead Sign Company - Signs, Banners and Trade Show Displays is a practical reference for event organizers planning their full booth layout.
Key Takeaways
A properly anchored, well-designed custom printed canopy tent requires site assessment, correct tools, sequential assembly, and active weather monitoring to perform safely and effectively at outdoor events.
| Point | Details |
|---|---|
| Anchor every leg correctly | Use at least 20 lbs of weight per leg and drive stakes at a 45° angle for maximum hold. |
| Level all four legs | Uneven leg heights distribute wind load improperly and can cause frame failure. |
| Respect wind limits | Take down or secure the tent when wind speeds exceed 15 mph to prevent accidents. |
| Choose durable materials | Powder-coated steel or aluminum frames and UV-treated polyester fabric last longer and perform better outdoors. |
| Design for visibility | Full-color dye-sublimation printing, high-contrast colors, and branded accessories maximize your booth’s presence. |
What I’ve learned from years of watching tent setups go wrong
The most expensive mistake I see event organizers make is treating tent setup as a last-minute task. They arrive at the venue with 45 minutes before doors open, skip the site walk, and start assembling on uneven ground. The tent goes up crooked, the weights are light, and by noon the whole structure is leaning into the neighboring booth.
The fix is not complicated. It is just discipline. Arrive early enough to do a proper site assessment. Walk the footprint. Check for slope. Confirm your anchoring method matches the surface. That 20-minute investment before setup begins prevents hours of problems during the event.
Team coordination is the other factor that separates smooth setups from chaotic ones. Daily safety briefings on multi-day events genuinely reduce incidents. A two-minute briefing at the start of each day, covering wind conditions, inspection checkpoints, and emergency procedures, keeps everyone aligned. I have seen this practice catch a loose stake and a failing frame connection before either became a real problem.
Balancing aesthetics with function is where most organizers need to push themselves harder. A beautiful canopy that flies away in a gust is worse than no canopy at all. Invest in the frame first, then the print. A vented canopy on a powder-coated steel frame with proper anchoring will outlast and outperform a cheaper alternative every time, regardless of how good the graphics look.
— Dan
Custom printed tent solutions from Arrowhead Sign Company - Signs, Banners and Trade Show Displays
Getting your tent setup right starts with having the right product. Arrowhead Sign Company - Signs, Banners and Trade Show Displays offers custom-printed display solutions built for event organizers who need quality, speed, and reliability.

The Shasta 10 ft stretch fabric display is a strong option for event organizers who want a polished, professional presence without a complicated setup. It features full-color custom printing on durable stretch fabric, ships within two business days, and is designed for repeated use across multiple events. Arrowhead Sign Company - Signs, Banners and Trade Show Displays also provides direct delivery to venues in Arizona, which removes one more logistical challenge from your event day. Contact the team to discuss your event branding needs and get a solution that is ready when you are.
FAQ
What is a custom printed canopy tent?
A custom printed canopy tent is a pop-up shelter with a fabric top printed with a brand’s logo, colors, or messaging. It serves as a portable, branded booth structure for outdoor events, trade shows, and festivals.
How do you set up an outdoor event tent safely?
Assemble the frame on flat ground, attach the canopy before raising to full height, lock all pins, level all four legs, and secure each leg with stakes and weights of at least 20 lbs before opening the booth.
What wind speed is too high for a custom pop-up tent?
Wind speeds above 15 mph create unsafe conditions for most pop-up canopy tents. Monitor conditions throughout the event and take down the tent immediately when gusts approach or exceed that threshold.
What anchoring method works best on hard surfaces like asphalt?
Concrete block weights or heavy sandbags placed on each leg foot are the correct anchoring method for asphalt and concrete, where ground stakes cannot penetrate the surface.
How do I make my printed event canopy last longer?
Clean and dry the canopy fabric completely before storing it. Keep it in a cool, dry location away from direct sunlight and moisture. Proper storage prevents mold, fabric degradation, and frame corrosion between events.