

How Booth Graphics Get Printed: A Planner's Guide
Posted by Deeder Dandenhorf on Jul 15th 2026
How Booth Graphics Get Printed: A Planner’s Guide
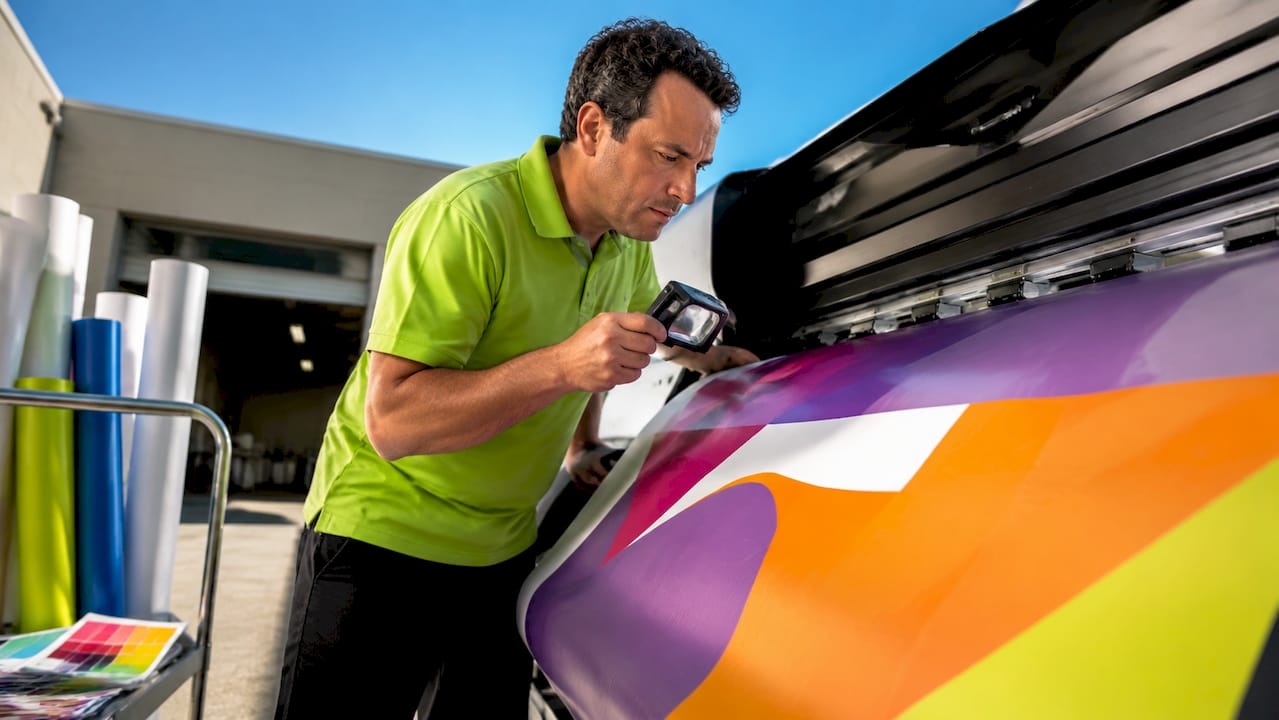
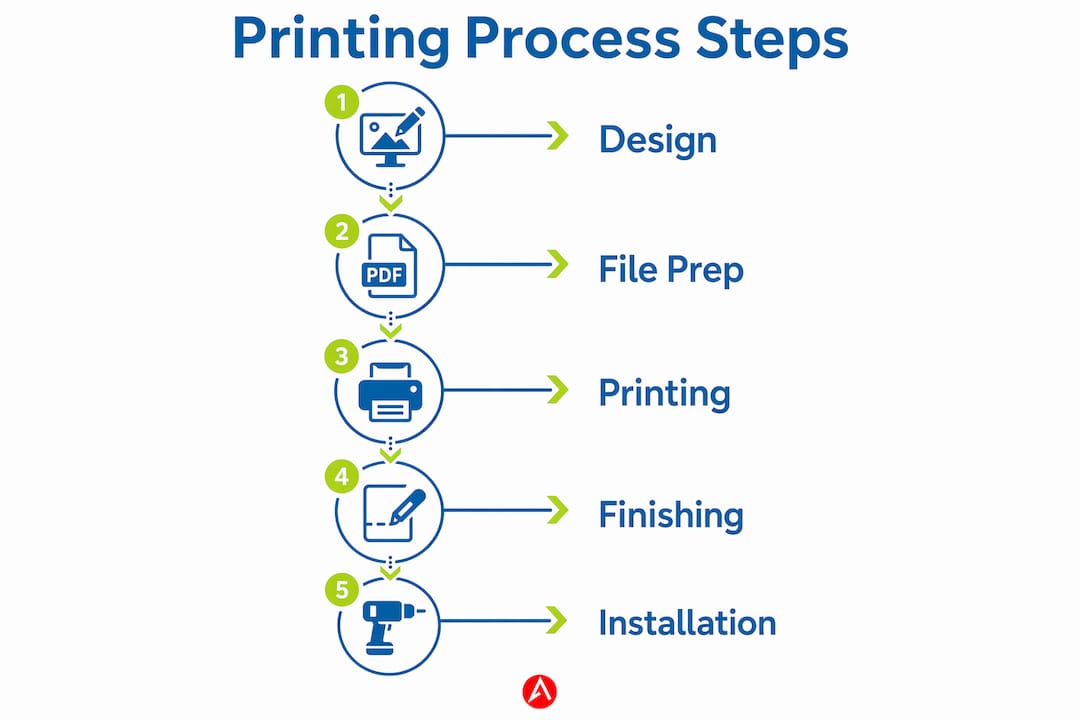
Booth graphics printing is defined as a large-format digital printing workflow that converts brand artwork into durable, display-ready visuals for trade shows and events. Understanding how booth graphics get printed gives event planners and marketing professionals a real advantage: you can catch file errors before they become expensive reprints, choose the right substrate for your venue, and brief your print vendor with confidence. The process moves through four stages: file preparation, print technology selection, material choice, and finishing. Each stage affects the final quality of your display. Arrowhead Sign Company - Signs, Banners and Trade Show Displays applies these standards across its full range of trade show products, from retractable banners to custom printed tents.
What printing processes are used for booth graphics?
Large-format digital printing covers four main technologies, and each one suits a different substrate and event scenario. Choosing the wrong method for your material produces dull colors, poor adhesion, or graphics that fail mid-show.
Dye-sublimation is the industry standard for fabric trade show graphics. Heat transfers dye directly into polyester fibers, producing vibrant, photo-quality color that does not crack or peel. Fabric prints are lightweight, wrinkle-resistant, and reusable, which makes them ideal for stretch fabric displays and hanging banners. A 10 ft stretch fabric display printed with dye-sublimation holds sharp color through repeated setups and teardowns.
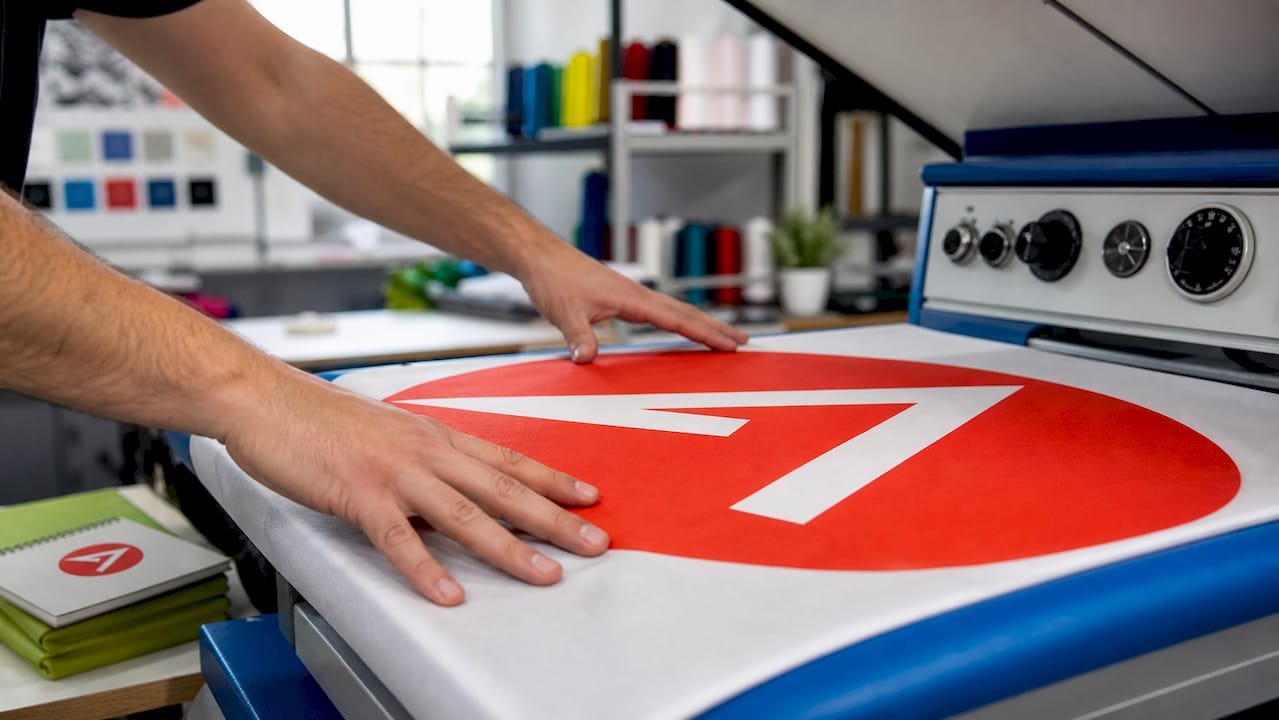
Solvent printing uses oil-based inks that bond to vinyl and other coated substrates. It produces weather-resistant graphics suited to outdoor events, but requires ventilation during printing and a curing period before finishing. UV-curable printing fires ultraviolet light at ink droplets the moment they land on the substrate, locking them in place instantly. This method works on rigid materials like foam board, acrylic, and aluminum composite panels. Latex printing uses water-based inks that cure with heat, making it a lower-odor option for indoor venues and a strong performer on both fabric and vinyl.
| Print method | Best substrate | Key advantage | Typical use |
|---|---|---|---|
| Dye-sublimation | Polyester fabric | Wrinkle-resistant, vibrant | Stretch displays, hanging banners |
| Solvent | Vinyl, coated media | Weather-resistant | Outdoor banners, floor graphics |
| UV-curable | Rigid boards, acrylic | Instant cure, sharp detail | Panel walls, countertop graphics |
| Latex | Fabric, vinyl | Low odor, eco-friendly | Indoor displays, backdrops |
Pro Tip: Ask your print vendor which technology they use before you submit files. Dye-sublimation requires artwork sized to the finished fabric dimensions, while UV printing on rigid panels may require a different bleed setup.
Modern print shops also rely on RIP software (Raster Image Processors) to manage color output, ink usage, and print head calibration. AI-enhanced RIP tools now predict maintenance needs and deliver more consistent color across long print runs. That consistency matters when you are printing multiple panels that need to match perfectly on the show floor.
How should files be prepared for high-quality booth display printing?
File preparation is where most booth graphic projects succeed or fail. A poorly prepared file produces banding, color shifts, blurry text, or graphics that get trimmed in the wrong place. Follow these steps before you submit anything to a printer.
-
Set your resolution correctly. 150–200 DPI is adequate for large booth graphics viewed from 10 feet or more. Sending a 300 DPI file for a 10-foot banner does not improve quality. It only inflates file size and slows processing.
-
Convert your color profile to CMYK. Screens display color in RGB, but printers use CMYK inks. Converting RGB to CMYK before export lets you see and fix any color shifts inside your design software. Submitting an RGB file and letting the printer convert it often produces dull or unexpected results, especially with brand colors.
-
Add a minimum 0.25-inch bleed on all sides. Industry standards require a minimum 0.25-inch bleed, and some large-format shops request 10mm for oversized prints. Bleed extends your background color or image past the cut line so that trimming never leaves a white edge.
-
Keep critical content inside the safe zone. Place all logos, text, and key visuals at least 0.5 inches from the trim edge. Anything outside that zone risks being cut off during finishing.
-
Embed fonts and flatten layers. Missing fonts cause text to reflow or substitute. Flattening layers removes transparency effects that some RIP software cannot process correctly.
-
Export as PDF/X-4. PDF/X-4 is the most reliable format for large-format printing because it embeds fonts, preserves color profiles, and handles transparency without flattening everything to a single layer. It travels predictably between computers and print systems.
-
Run a preflight check. Most professional design applications include a preflight panel that flags missing links, low-resolution images, and out-of-gamut colors before you export.
Pro Tip: Use soft-proofing in Adobe Illustrator or InDesign with your printer’s CMYK profile loaded. Soft-proofing in CMYK reveals out-of-gamut colors on screen before a single drop of ink is used.
Reviewing your proofing process with your vendor before final submission catches the issues that preflight tools miss, such as brand color drift or panel alignment errors.
What substrates and materials are best for booth graphic printing?
Material selection directly affects print quality, portability, and how your booth holds up across multiple events. The right substrate depends on your display type, venue environment, and how often you plan to reuse the graphics.
Fabric is the top choice for most indoor trade show displays. Polyester fabric printed with dye-sublimation produces rich color, packs into a carry-on bag, and arrives wrinkle-free when stretched over a frame. It is the substrate behind most modern backwall and popup displays.
Vinyl covers a wide range of applications. Scrim vinyl works for large outdoor banners because it resists wind and moisture. Adhesive vinyl applies directly to walls, floors, and windows. Blockout vinyl prevents light bleed on double-sided signs.
Rigid substrates include foam board, PVC board, acrylic, aluminum composite, and corrugated plastic. These materials suit countertop displays, hanging signs, and panel walls where a structured look is required. They are heavier than fabric, which affects shipping costs.
- Fabric: lightweight, packable, wrinkle-resistant, best for indoor stretch displays and backwalls
- Vinyl: weather-resistant, versatile, suited to outdoor banners and adhesive applications
- Foam board: lightweight rigid option for countertop and panel graphics, not reusable
- Acrylic: premium look, heavy, best for permanent or semi-permanent installations
- Aluminum composite: durable, flat, suited to outdoor rigid signage
Selecting lightweight materials reduces shipping weight and lowers drayage fees at convention centers with union labor rules. That is a real budget consideration at major venues where handling fees are charged by weight.
Pro Tip: If your booth travels to multiple shows per year, fabric and retractable banner hardware pay for themselves quickly. Rigid substrates cost less per print but add significant freight charges over time.
You can compare display types and materials in detail to match your booth structure to the right substrate before you order.
What finishing steps prepare booth graphics for trade shows?
Finishing is the stage between the printer and the show floor. It determines how your graphics look, how long they last, and how easy they are to install.
- Lamination adds a protective film over the printed surface. Gloss lamination intensifies color and works well for photo-heavy graphics. Matte lamination reduces glare under harsh trade show lighting. Both options protect prints from UV and scratches, extending the life of your graphics in high-traffic environments.
- Hemming and grommets finish the edges of fabric and vinyl banners. A sewn hem prevents fraying. Grommets create anchor points for hanging or tensioning the graphic.
- Mounting and framing attach rigid graphics to substrates like foam board or aluminum frames. Proper mounting prevents warping, especially for large panels.
- Cutting and trimming use digital cutters or routers to produce precise shapes, including custom contour cuts for branded silhouettes.
Panel-based booths require extra attention during finishing. Designers should request templates showing seam and frame locations so that logos and headlines do not land on a fold or get hidden behind a structural element. Misaligned panels are one of the most common and most avoidable problems in booth graphic production.
Properly sequencing finishing steps such as curing, laminating, hemming, and mounting is critical to prevent warping and adhesion failure, particularly on large panels. Rushing this sequence to meet a deadline often causes bubbling or edge lift.
Pro Tip: Request a physical proof for any new booth graphic before approving the full print run. Color and finish look different on screen than they do on the actual substrate under trade show lighting.
How do printing choices affect event logistics and brand impact?
Every printing decision you make has a downstream effect on your budget, your timeline, and how your brand reads on the show floor. Planning backward from your move-in date is the most reliable way to avoid rush fees and poor material choices.
- Lock your design files at least two weeks before the show. Most professional print shops need five to ten business days for large-format production plus finishing. Shipping adds more time.
- Factor in drayage costs when choosing materials. Convention centers charge handling fees based on weight. A fabric display that ships in a 15-pound case costs far less to move through a venue than a crate of rigid panels.
- Maintain print consistency across all booth elements. Color variation between your backwall, table cover, and banner stand signals a lack of attention to detail. Submit all files to the same vendor using the same color profile.
- Treat booth graphics as a coordinated system. Booth graphics perform better when designed to guide visitors through a marketing narrative rather than as isolated visuals. Plan your headline, supporting graphics, and call-to-action placement before any file goes to print.
A trade show brand visibility checklist helps you align printing timelines with installation logistics so nothing arrives late or out of spec.
Key Takeaways
Booth graphics printing is a multi-stage workflow where file preparation, print technology, substrate selection, and finishing each determine whether your display performs or fails at the show.
| Point | Details |
|---|---|
| Match resolution to viewing distance | Use 150–200 DPI for large graphics viewed from 10 feet or more to avoid oversized files. |
| Convert to CMYK before export | Pre-export CMYK conversion prevents color shifts and protects brand colors at print. |
| Choose substrate by event type | Fabric suits indoor reusable displays; vinyl and rigid boards serve outdoor or structured needs. |
| Finish in the correct sequence | Cure, laminate, hem, and mount in order to prevent warping and adhesion failure. |
| Plan backward from move-in day | Build in two weeks minimum for production, finishing, and shipping to avoid rush costs. |
What I’ve learned from watching booth graphics go wrong at the last minute
The most expensive mistake I see event planners make is treating the print vendor as the last stop in the process rather than the first call. By the time files reach the printer, the design is locked, the budget is spent, and there is no time to fix a color profile error or a missing bleed. The result is a rushed reprint at premium rates, or worse, a booth that goes up with graphics that do not match the brand.
The second issue is viewing distance. Aligning resolution and detail to viewing distance is one of the most underused concepts in trade show graphic design. Planners often request 300 DPI files for a 20-foot backwall because it sounds more professional. That decision adds hours to file processing and zero visible quality at the distances attendees actually stand.
What actually works is treating your booth graphics as a logistical project from day one. That means briefing your printer during the design phase, not after. It means requesting templates with dielines and seam markings before your designer starts placing logos. And it means building a preflight checklist that your team runs on every file before submission. The planners who do this consistently produce better displays, spend less on reprints, and arrive at the show floor without last-minute panic.
— Dan
Arrowhead Sign Company - Signs, Banners and Trade Show Displays: ready when your deadline is not
When your event timeline is tight and the quality bar is high, you need a print partner who understands both sides of that equation.

Arrowhead Sign Company - Signs, Banners and Trade Show Displays produces custom trade show displays using professional large-format printing on materials selected for each display type and event environment. The Shasta 10 ft Straight Stretch Fabric Display ships with dye-sublimation printed graphics that are lightweight, wrinkle-resistant, and ready to install without tools. Most orders ship within two business days, and Arizona-based clients receive direct venue delivery. If you want to understand the full printing workflow before you order, the trade show printing guide on the Arrowhead Sign Company blog walks through every stage in plain language.
FAQ
What DPI should booth graphics be printed at?
Large booth graphics viewed from 10 feet or more print well at 150–200 DPI. Higher resolution does not improve visible quality at trade show viewing distances and only increases file size.
What file format is best for submitting booth graphic files?
PDF/X-4 is the most reliable format for large-format printing. It embeds fonts, preserves CMYK color profiles, and handles transparency without causing processing errors at the print shop.
Why do booth graphic colors look different when printed?
Color shifts occur when RGB files are converted to CMYK at the printer. Converting to CMYK inside your design software before export lets you see and correct any shifts before the file leaves your hands.
What is the best material for a reusable trade show display?
Polyester fabric printed with dye-sublimation is the top choice for reusable indoor displays. It is lightweight, wrinkle-resistant, and holds vibrant color through repeated setups.
How far in advance should booth graphics be ordered?
Order at least two weeks before your show move-in date to allow time for production, finishing, and shipping. Rushing the timeline increases costs and raises the risk of quality issues.
Recommended
- How Trade Show Printing Works: A Planner’s Guide - Arrowhead Sign Company
- Proofing Custom Promotional Signage: A Small Business Guide - Arrowhead Sign Company
- Trade Show Brand Visibility Checklist for Exhibitors - Arrowhead Sign Company
- How Event Signage Is Installed: A Practical Guide - Arrowhead Sign Company