

Quick Turnaround Banner Printing Guide for Events
Posted by Deeder Dandenhorf on Jun 8th 2026
Quick Turnaround Banner Printing Guide for Events
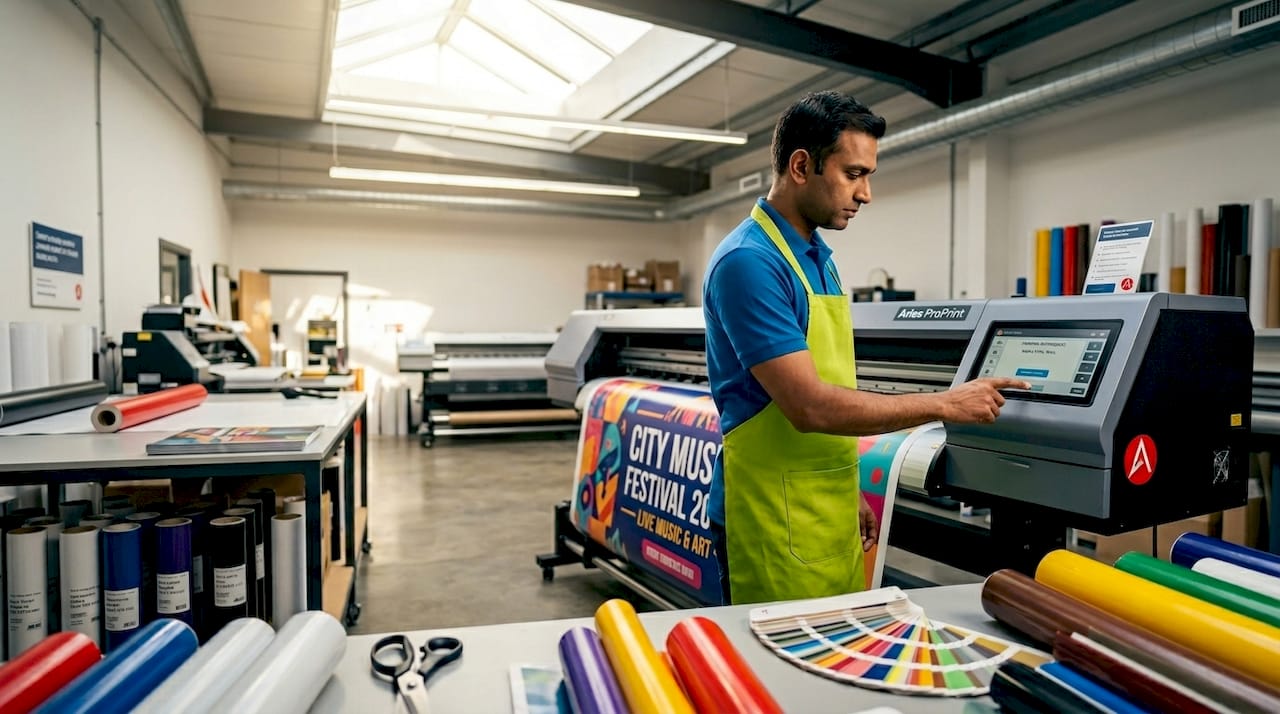
Quick turnaround banner printing is the process of producing high-impact, event-ready banners in the shortest possible time without sacrificing print quality or brand visibility. For small business owners and event planners, the difference between a banner arriving on time and missing your setup window can determine how your brand shows up on the floor. This quick turnaround banner printing guide covers every critical step: file preparation, material selection, ordering workflow, and common mistakes that cause costly delays. Whether you need a retractable banner for a weekend trade show or outdoor signage for a festival, the principles of efficiency in banner production stay the same.
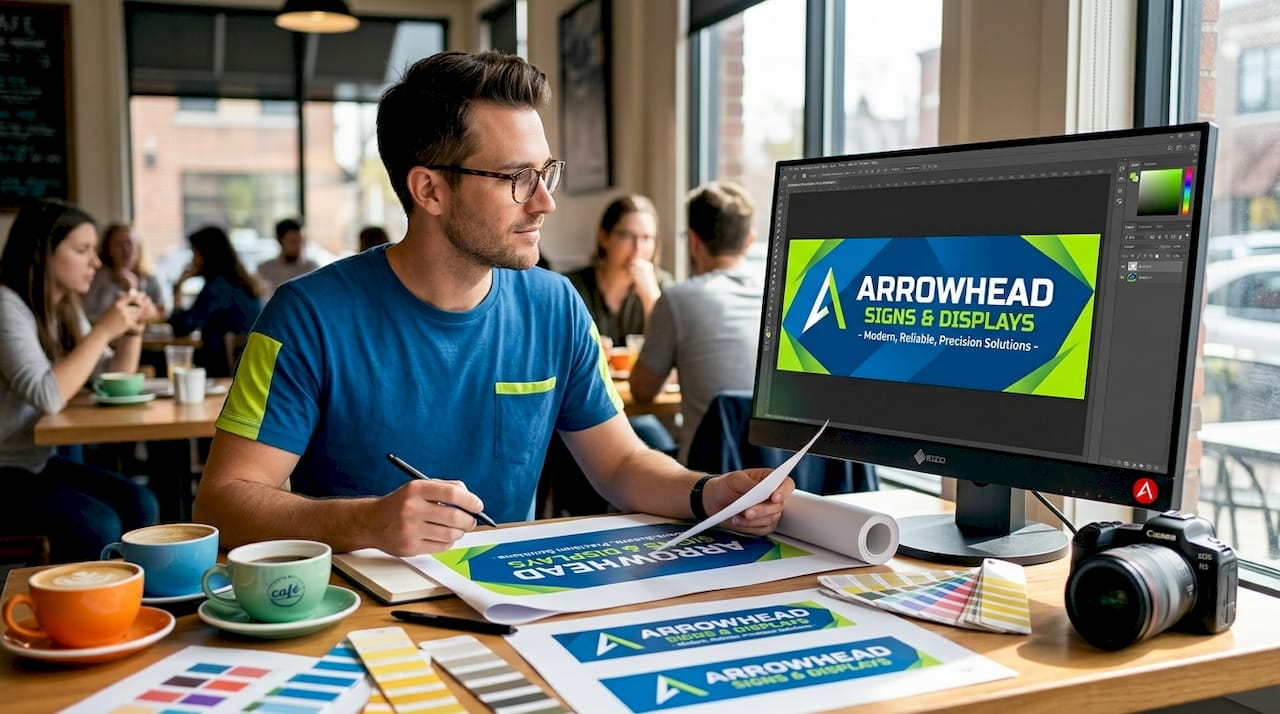
How to prepare and check your banner files for quick printing
File preparation is the single biggest factor in whether your banner prints on time. Most print failures leading to costly reprints are preventable through upstream file preparation, including resolution management and color mode. Getting this right before you upload saves hours of back-and-forth with your print shop.
Set the right resolution for viewing distance
Resolution is where many first-time banner buyers make an expensive mistake. 100 to 150 PPI at final banner size is sufficient for banners viewed at 8 to 10 feet. Setting your file to 300 PPI creates unnecessarily large files that slow RIP (Raster Image Processor) processing at the print shop, which directly hurts your turnaround time. Higher resolution does not improve how your banner looks from across a room. It only adds file weight and processing time.
Color mode, bleed, and safe zones
Always convert your artwork to CMYK before submitting. RGB files look vibrant on screen but shift unpredictably when converted by the printer’s software, and color corrections add revision cycles you cannot afford on a tight deadline. Industry standard bleed is 0.125 inches (3 mm) beyond the trim line, with critical text and logos kept 3 to 5 mm inside the trim. Skipping bleed is one of the most common non-designer mistakes, and it results in white slivers or cropped logos on edge-to-edge prints.
Pre-flight checklist before you submit
A structured pre-flight check catches errors before they reach the printer. Files with embedded fonts, correct TrimBox settings, bleed, and color profiles speed approval and production time significantly. Tools like PDF Press let you verify and correct these elements quickly without needing a full design application. Your pre-flight checklist should confirm:
- Document size matches the ordered banner dimensions
- Bleed of 0.125 inches added on all sides
- Color mode set to CMYK
- All fonts embedded or converted to outlines
- Resolution between 100 and 150 PPI at final size
- File saved as PDF/X-4 for maximum compatibility
Pro Tip: Finalize your artwork at least 24 hours before your order deadline. This buffer gives you time to fix any pre-flight errors without rushing the production window.
What materials and sizes work best for fast turnaround
Choosing the right material and size is not just about aesthetics. It directly affects how fast your banner can be produced and delivered. Knowing your options before you order puts you in control of the timeline.
Vinyl: the go-to material for speed and durability
Standard vinyl banners with grommets and hemming are the most popular choice for events because they are durable, versatile, and fast to produce. Vinyl accepts ink well, dries quickly, and holds up in both indoor and outdoor environments. Hemming reinforces the edges to prevent tearing, while grommets make installation fast and tool-free. For most event applications, 13 oz. scrim vinyl is the standard weight that balances cost, print quality, and production speed.
Standard sizes vs. custom sizes
Standard sizes like 3x6 ft or 4x8 ft are stocked and faster to produce. Custom dimensions may add days to your turnaround because they require additional setup time and may not fit standard finishing equipment. If your design can work within a standard size, choose it. The visual difference is rarely worth the delay.
Here is a comparison of common banner materials and their effect on production speed:
| Material | Best use | Relative print speed | Finishing options |
|---|---|---|---|
| 13 oz. scrim vinyl | Indoor/outdoor events | Fast | Grommets, hemming, pole pockets |
| Mesh vinyl | Outdoor/windy locations | Fast | Grommets, hemming |
| Fabric (polyester) | Indoor trade shows | Moderate | Sewn edges, pole pockets |
| Retractable banner film | Pull-up stands | Fast | Pre-cut to stand spec |
Pro Tip: Opt for commonly stocked sizes and standard finishes whenever possible. Requesting a non-standard size or specialty finish on a rush order is the fastest way to push your delivery date back by a full business day.
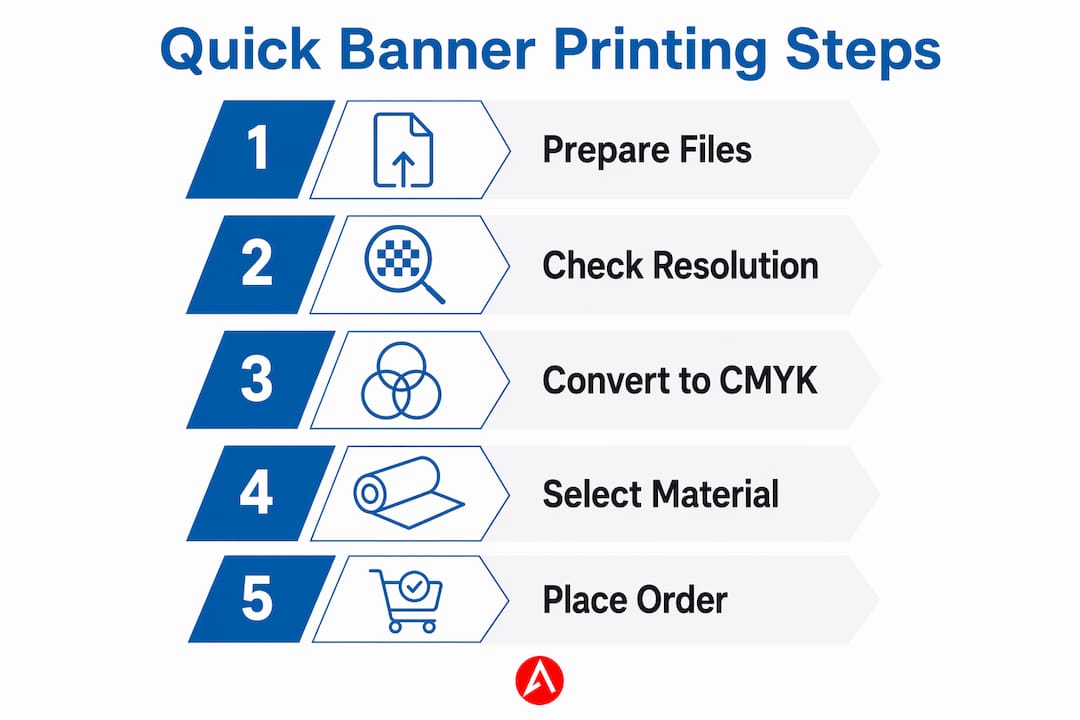
Step-by-step ordering process for quick turnaround banners
A clean ordering process eliminates the back-and-forth that kills tight timelines. Follow these steps to place your order with confidence and get your banner on time.
- Prepare a print-ready file. Confirm your file meets all pre-flight requirements before you open the order form. Uploading a file that needs corrections restarts the clock.
- Choose a print shop with in-house finishing. In-house printing and finishing under one roof reduces turnaround by eliminating handoff delays between production and finishing departments.
- Communicate your hard deadline upfront. Tell your print shop the date and time your banner must be in hand, not just the event date. This lets them schedule your job correctly.
- Limit revisions to one round. Multiple revision cycles are the most common cause of missed deadlines. Approve your proof quickly and decisively.
- Confirm shipping or pickup logistics. Know whether you are picking up locally or relying on a carrier. Local print shops with direct delivery to your venue remove carrier risk entirely.
- Keep a rush order checklist on hand. A saved checklist prevents last-minute scrambling and keeps your ordering process repeatable for future events.
Here is a comparison of common turnaround options to help you plan:
| Turnaround type | Typical production time | Best for | Key requirement |
|---|---|---|---|
| Same-day | Under 8 hours | Emergency replacements | File must be print-ready at submission |
| Next-day | 24 hours | Last-minute event prep | Simple design, standard size |
| Standard | 3 to 5 business days | Planned events | Allows for revisions and proofing |
Pro Tip: Keep a folder of pre-approved, print-ready brand files including your logo in CMYK, your brand colors in Pantone and CMYK, and a blank banner template at your most-used size. When a rush order comes up, you can place it in minutes instead of hours.
Common mistakes that slow down your banner order
Even experienced event planners run into problems when ordering under pressure. Knowing the most frequent errors lets you sidestep them before they cost you time or money.
- Wrong file dimensions. Submitting a file sized differently from the ordered banner forces the print shop to either reject it or scale it, both of which delay production. Always confirm your file dimensions match your order exactly.
- RGB color mode. Sending an RGB file to a CMYK printer causes unpredictable color shifts. Blues can turn purple, and brand reds can look orange. Convert to CMYK before submission, every time.
- Overcomplicated designs. Complex artwork with many layers, gradients, and small text slows RIP processing and increases the chance of print errors. Simple, bold designs with one clear message, large text, and strong contrast produce the fastest results and the most readable banners at distance.
- Missing bleed. A file without proper bleed almost always gets flagged during pre-flight, adding a correction round to your timeline. Add 0.125 inches of bleed on every side before you submit.
- Ordering an oversized banner without a plan for installation. A 10x20 ft banner requires hardware, rigging, or a frame that you may not have on-site. Match your banner size to your actual installation setup.
- Unclear final approval. Ambiguous email threads and multiple stakeholders reviewing a proof create delays. Designate one person to give final sign-off and set a hard approval deadline.
Pro Tip: Under time pressure, resist the urge to add more visual elements to your design. One strong headline, your logo, and a contact detail or URL is all a trade show banner needs to do its job.
You can also review signs for trade shows to understand which banner formats work best for specific event setups before you finalize your order.
Key takeaways
Fast, professional banner printing depends on disciplined file preparation, smart material choices, and a clean ordering process that eliminates unnecessary delays.
| Point | Details |
|---|---|
| File prep drives speed | Pre-flight checks for resolution, CMYK color, bleed, and embedded fonts prevent costly reprints and revision delays. |
| Resolution sweet spot | Use 100 to 150 PPI at final banner size. Higher settings slow production without improving visible quality. |
| Standard sizes save time | Sizes like 3x6 ft or 4x8 ft are stocked and faster to produce than custom dimensions. |
| Vinyl is the fastest material | 13 oz. scrim vinyl with grommets and hemming is the most reliable choice for quick event turnaround. |
| Simple designs print faster | Bold text, strong contrast, and minimal layers reduce RIP processing time and approval cycles. |
What I’ve learned from watching banner orders go wrong
After years of working with small businesses and event planners on tight timelines, the pattern is clear: the orders that miss deadlines almost never fail because of the printer. They fail because of what happens before the file is submitted.
The clients who consistently get their banners on time are the ones who treat file preparation as a non-negotiable step, not an afterthought. They have brand asset folders ready to go. They know their standard sizes. They designate one approver and stick to a single revision round. That discipline is not complicated. It just requires building the habit before the pressure hits.
What surprises most people is how much the choice of print shop matters beyond price. A shop with in-house finishing and local delivery to your venue removes two of the biggest variables in a rush order: handoff time and carrier risk. When you are setting up for a trade show in Phoenix and your banner needs to be on the floor by 8 a.m., “it’s in transit” is not a useful answer.
My honest recommendation is to treat your first order with any new print shop as a test run. Place it with enough lead time to catch problems. Once you know their workflow and file preferences, you can confidently place rush orders knowing exactly what to expect. That relationship is worth more than saving a few dollars on a one-time discount.
For event planners managing multiple vendors, I also recommend reviewing outdoor event banner production to understand the full production process. Knowing what happens after you submit your file makes you a better client and a faster one.
— Dan
Get your banners printed fast with Arrowhead Sign Company
When your event timeline is tight, you need a print partner who can deliver without making you chase updates.
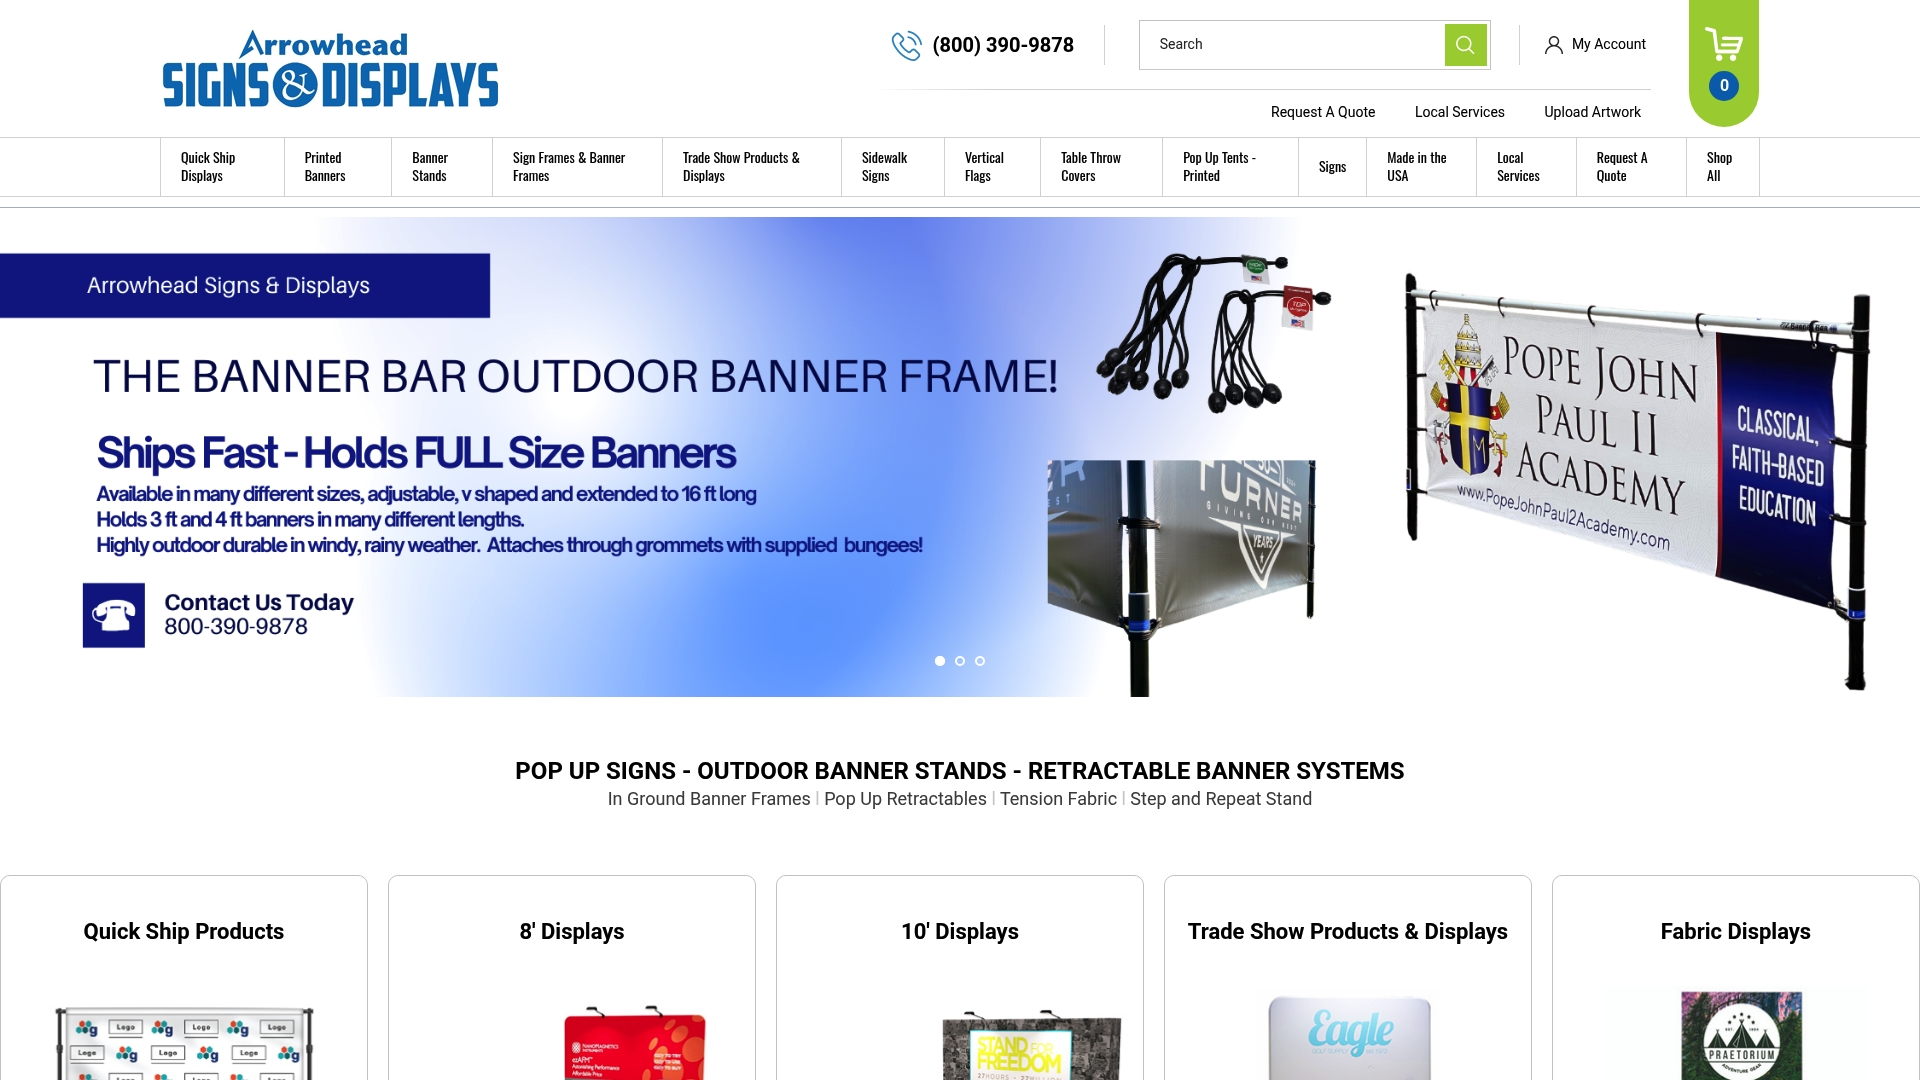
Arrowhead Sign Company - Signs, Banners and Trade Show Displays ships most products within two business days and offers direct delivery to venues across Arizona, removing carrier uncertainty from your event prep. Their product range covers retractable banner stands, pop-up displays, outdoor banner stands, and custom printed tents, all built for small businesses and event marketers who need professional results on a real-world schedule. Whether you are preparing for a trade show, a community event, or a pop-up activation, Arrowhead Sign Company has the production capacity and local expertise to get your banners in your hands on time.
FAQ
What is quick turnaround banner printing?
Quick turnaround banner printing is the production of custom banners within a compressed timeline, typically same-day to three business days. Success depends on submitting print-ready files, choosing standard sizes, and working with a print shop that handles finishing in-house.
What resolution should I use for a banner file?
Use 100 to 150 PPI at the final printed size for banners viewed at 8 to 10 feet. Higher resolution creates larger files that slow processing without improving visible print quality.
Why does my banner color look different after printing?
Color shifts occur when a file is submitted in RGB mode and converted to CMYK by the printer. Always convert your artwork to CMYK before submission to maintain accurate brand colors.
What banner size prints the fastest?
Standard sizes like 3x6 ft and 4x8 ft print fastest because they are commonly stocked and fit standard finishing equipment. Custom dimensions can add one or more days to your production timeline.
How do I avoid delays when ordering a rush banner?
Submit a fully print-ready file with correct dimensions, CMYK color mode, 0.125-inch bleed, and embedded fonts. Limit your design to one revision round and communicate your hard deadline to the print shop at the time of ordering.
Recommended
- How Outdoor Event Banners Are Made: a 2026 Guide - Arrowhead Sign Company
- Assembling Retractable Banner Stands Correctly - Arrowhead Sign Company
- Custom Pop Up Signs | Outdoor Banner Stands | Retractable Banner Stands | Arrowhead Signs and Displays
- How Trade Show Printing Works: A Planner’s Guide - Arrowhead Sign Company