

Why Banner Wind Slits Fail: You Need 15–20% Porosity or a Frame
Posted by Deeder Dandenhorf on Sep 5th 2026
Why Banner Wind Slits Fail: You Need 15–20% Porosity or a Frame
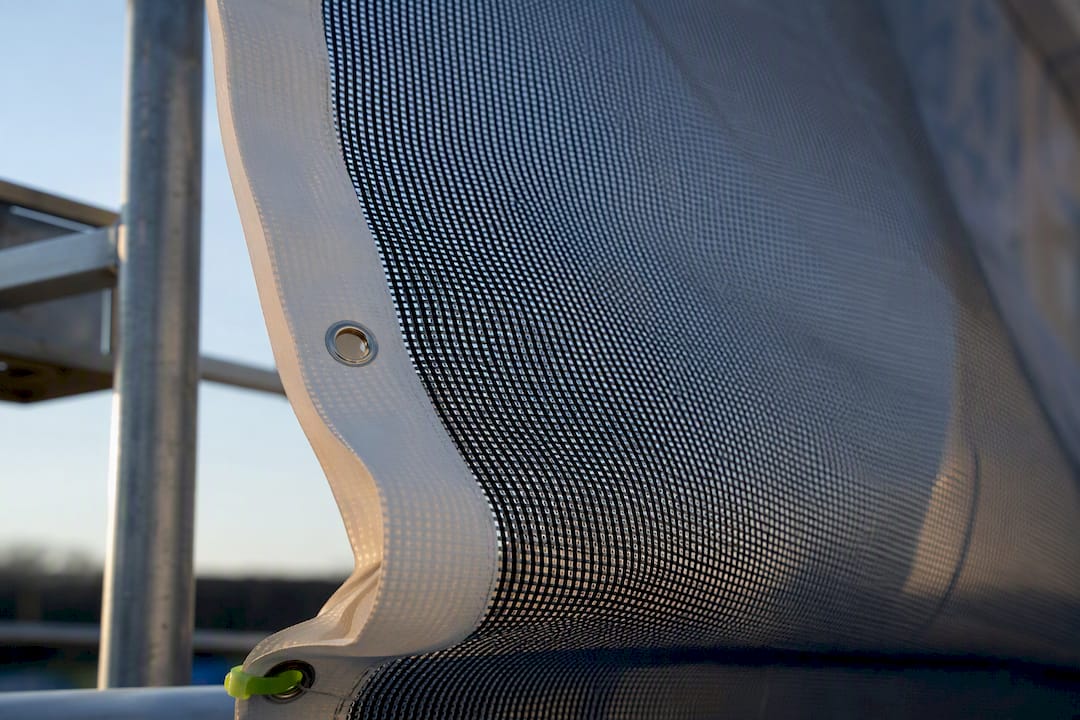
Wind slits give a modest drag reduction at best, and only when cut across a large share of the banner surface. At typical spacing, they can even raise wind load at low speeds, according to wind-tunnel testing from The Conversation. It is advisable to use mesh vinyl or a reinforced frame setup for genuinely wind-prone sites instead of relying on cut vents alone.
TL;DR:
- Wind slits provide only modest drag reduction, requiring about 15-20% porosity to be effective, with lower levels offering little to no benefit.
- Static holes slightly reduce wind load at higher speeds but can increase stress at low speeds, and hinged flaps can sometimes perform better by releasing pressure.
- Cutting vents weakens the vinyl, especially near grommets and hems, and can void warranties, making reinforcement and proper mounting better long-term solutions.
- Using mesh banners and reinforced mounting methods like cable-reinforced pole pockets or rigid frames offers more reliable wind resistance than cutting slits.
- For high-exposure sites, a combination of mesh vinyl and a sturdy frame is recommended over relying on vents or slits.
Table of Contents
- What Are Banner Wind Slits, and Do They Work?
- Holes vs. Flaps vs. Slits: What Changes With Vent Type
- Where Should Vents Go, and How Big Should They Be?
- How to Cut Wind Slits (and When to Skip It)
- Better Long-Term Fixes Than Cutting Slits
- What Arrowhead Sign Company Recommends for Wind-Prone Sites
- Why Cutting Vents Is the Wrong First Move
- Stop Fighting Wind With a Blade. Frame It Instead.
- Sources
- FAQ
What Are Banner Wind Slits, and Do They Work?
Wind slits are small openings cut into a vinyl banner to let gusts pass through instead of pushing against a solid surface. You’ll see them in a few shapes: crescent or half-moon cuts, straight rectangular slits, and hinged flaps that lift open under pressure and reseal when the wind drops. Street pole banners, festival signage, and fence-mounted banners are the most common places you’ll spot them, usually arranged in staggered rows across the middle third of the panel.
The experimental data on how well they perform is less flattering than the marketing around them suggests. Wind-tunnel testing published by The Conversation found that porosity has to climb fairly high before drag drops in any meaningful way.
- At roughly 7% porosity, drag reduction is barely measurable.
- Pushing porosity toward 20% produces a real but still modest cut in load, only a few percent in most trials.
- At low wind speeds, some vent configurations actually increased load by up to 5%, according to Phys.
That’s not nothing, but it’s far short of what most banner owners expect when they hear “wind resistant.”
Holes vs. Flaps vs. Slits: What Changes With Vent Type
Not all vents behave the same way in moving air, and the differences matter more than most banner buyers realize.
- Round holes create a fixed opening that lets air through constantly, regardless of gust speed, which is why they underperform at low wind and only help meaningfully at higher speeds.
- Hinged flaps stay closed until pressure builds, then pop open to release load, an approach that showed different (and sometimes better) results than static holes in wind-tunnel comparisons.
- Rectangular slits sit between the two, but they concentrate stress at the slit’s ends rather than distributing it, since cutting removes scrim fibers exactly where the material needs strength most.
That structural weakening is the part sign shops rarely explain to first-time buyers. According to Supply55’s practitioner guidance, cutting into vinyl reduces tensile strength at those points permanently, and stitching or patching only partially restores it. Grommet corners and hemmed edges are especially vulnerable if a slit lands too close to them, and several manufacturers will void a warranty on a banner altered after purchase, so check the fine print before you pick up a blade. There’s also an aesthetic cost: rows of slits interrupt logos, text, and photography in ways clients notice immediately once the banner is installed.
Where Should Vents Go, and How Big Should They Be?
Placement rules exist for a reason, and skipping them is how installers end up with a banner that rips at the seam instead of the slit.
- Keep every vent at least 3 to 4 inches away from grommets, hems, and pole pockets. Those zones already carry the most mechanical stress.
- Space slits or holes in staggered rows across the middle of the panel, not the edges, following the pattern used in most municipal street-banner specs.
- Calculate porosity as total open area divided by total banner area. Hitting the 15% to 20% range cited in wind-tunnel research is what it takes to see a real drag benefit, not the 5% to 7% many DIY jobs default to.
- Add a line of reinforcement stitching or a heat-welded patch at each slit’s ends before installation, which limits how far the fiber damage spreads over time.
- Check local signage codes first. Some municipalities, Springville, Utah among them, require up to 20% open area on street banners regardless of what the wind-tunnel data recommends.
How to Cut Wind Slits (and When to Skip It)
If your banner is already up and you’re dealing with a wind problem on-site, here’s the safest way to add vents without wrecking the panel.
- Mark first. Lay the banner flat and pencil-mark where each slit or hole will go, keeping every mark clear of hems and grommets.
- Use a template. A cardboard or acrylic template keeps crescent or half-moon shapes consistent across a long run of banners.
- Cut clean. A sharp utility knife or X-Acto blade works for one-off jobs; sign shops running large batches typically use a dedicated wind-slit punch or rotary cutter for repeatable results.
- Finish the edges. Seal cut edges with a heat gun on vinyl to keep them from fraying, then stitch or patch the slit ends.
- Reinforce before hanging. Don’t skip the patch step. It’s the difference between a slit that holds and one that tears wide open in the next storm.
Pro Tip: Before you cut anything, call the manufacturer or your sign shop and ask directly whether field-modifying the banner voids the warranty. Many do, and that’s a costly surprise to find out after a rip.
For anything beyond a quick fix, factory-cut vents or a mesh substrate ordered from the start will outperform a DIY slit job every time, and you skip the warranty question entirely. Full-mesh banners let air pass across the entire surface rather than through a few cut points, which is a fundamentally different (and more effective) approach to airflow, as detailed in a guide on choosing the right vinyl event banner.
Better Long-Term Fixes Than Cutting Slits
Slits treat a symptom. The more durable fix usually starts with material choice and mounting, not a blade.
- Mesh banners trade a small amount of image sharpness for airflow across the whole surface, not just at cut points, making them the more reliable option for large or highly exposed installs, according to Supply55’s wind-load research.
- Heavier vinyl with reinforced hems holds up better on pole banners and smaller spans where full mesh isn’t necessary.
- Cable-reinforced pole pockets distribute wind stress along the full edge instead of concentrating it at a few grommets.
- A slightly smaller banner cuts total wind-catching surface area directly, often more effectively than adding vents, without touching the graphic at all.
- A rigid frame removes billowing entirely by holding the panel taut on all sides, which is why frame-mounted banners tend to survive gusts that would shred a free-hanging one.
Statistic to remember: the same wind-tunnel research that measured vent performance also found that installation choices, hems, mounting, and frame tension, consistently mattered more to overall wind survival than the vents themselves. Good mounting practice, covered in an outdoor signage installation guide, is worth more attention than most banner buyers give it.
What Arrowhead Sign Company Recommends for Wind-Prone Sites
Some companies ship orders within two business days and may deliver directly to venues in Arizona, which matters when a wind forecast changes your plans a week before an event. For high-exposure locations, fence lines, open lots, elevated pole placements, the recommendation is mesh vinyl paired with a rigid frame rather than a solid panel with cut vents. For smaller pole or fence banners where full mesh isn’t necessary, heavier vinyl with reinforced hems and grommet spacing gets the job done without sacrificing print quality.
Sign shops that see repeat customers year over year tend to steer people away from slits for exactly the reasons the wind-tunnel data backs up: modest benefit, real structural cost. If you’re weighing vinyl weight, mesh percentage, or frame tension for an upcoming outdoor booth, that’s a materials conversation worth having before printing, not after a banner tears in the parking lot.
Why Cutting Vents Is the Wrong First Move
The wind-tunnel data makes a case that most banner sellers don’t want to advertise: slits are a weak fix dressed up as a strong one.
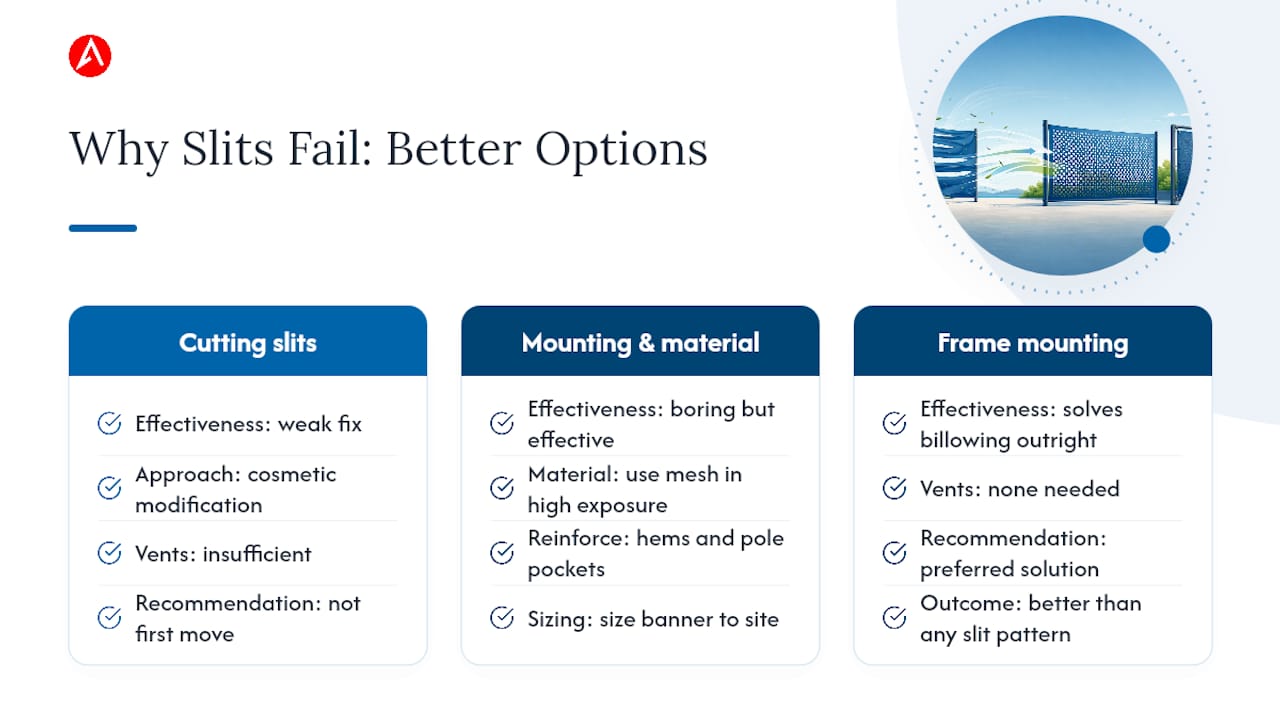
The conventional advice, “just cut some slits,” treats wind resistance as a cosmetic afterthought instead of a materials and mounting decision. What the evidence actually supports is boring but effective: choose mesh where exposure is high, reinforce hems and pole pockets everywhere, and size the banner to the site instead of oversizing it and hoping vents will compensate. Frame mounting solves the billowing problem outright in a way no amount of cutting can match.
If you take one thing from this, prioritize mounting and material over modification. A banner that’s properly framed and reinforced needs no vents at all, and that’s a better outcome than any slit pattern will give you.
— Dan
Stop Fighting Wind With a Blade. Frame It Instead.
A rigid frame solves the wind problem that slits only nibble at, and it does it without cutting a single fiber out of your graphic. The Outdoor Banner Frame, The Banner Bar, holds a banner taut on all four sides so it can’t billow, catch, or tear at the seams the way a loose-hung panel does, and it adjusts to fit 6-foot and 8-foot spans without ordering a custom size.

For most exposed outdoor spots, the strongest combination is a mesh or heavier vinyl banner mounted on a sturdy frame, as explained in the Manufacturing Ad Campaigns | Internal Resource. Some businesses can order such setups with rapid shipping and delivery options available in certain regions such as Arizona. If your next event site is open, elevated, or known for gusty afternoons, check the frame’s specs and get it into your order alongside your banner rather than adding vents after the fact.
Sources
- Do wind vent holes in banners make a difference? We used a wind tunnel to find out
- Wind Slits in Vinyl Banners - Supply55 Blog
- Do wind vent holes in banners make a difference?
FAQ
What Are Wind Slits in a Banner?
Wind slits are small cuts, usually crescent, rectangular, or hinged-flap shapes, made in a vinyl banner to let air pass through and reduce the surface area catching a gust.
What Are the Wind Flaps in a Banner?
Wind flaps are hinged vents that stay closed under normal conditions and pop open when wind pressure builds, then reseal once the gust passes, a design that performed differently from static holes in wind-tunnel testing.
How Do You Make Wind Slits in a Banner?
Mark the placement away from hems and grommets, cut with a sharp utility knife or a dedicated wind-slit tool, seal the cut edges, and reinforce each slit’s ends with stitching or a heat-welded patch before installing.
What Are the Most Common Banner Mistakes?
The most common mistakes are cutting vents too close to grommets or hems, skipping edge reinforcement, oversizing the banner for the site, and choosing solid vinyl over mesh for highly exposed locations. Mounting on a rigid frame can avoid several common banner problems at once by eliminating billowing entirely.