

Selecting Finishes for Custom Printed Banners: A Pro Guide
Posted by Deeder Dandenhorf on Jun 22nd 2026
Selecting Finishes for Custom Printed Banners: A Pro Guide
Banner finishes are the structural elements added to the edges and perimeter of a printed banner, including reinforced hems, eyelets, pole pockets, and keder edging, that determine how the banner installs, holds tension, and survives repeated use. Selecting finishes for custom printed banners is not a cosmetic decision. It is a structural one. Proper finishing increases banner lifespan and visual impact by 30–40% compared to poorly finished banners. That gap shows up directly in your brand’s on-site presentation and your signage budget over time.
What are the main finishing options for custom printed banners?
The industry term for this category is “banner finishing,” and it covers every method used to reinforce, mount, or terminate a banner’s edges. The three primary finishing methods are reinforced hemming, eyelets (also called grommets), and pole pockets, each tailored to specific installation needs. Understanding each one before you place your order prevents costly reprints and installation failures at events.
Reinforced hemming
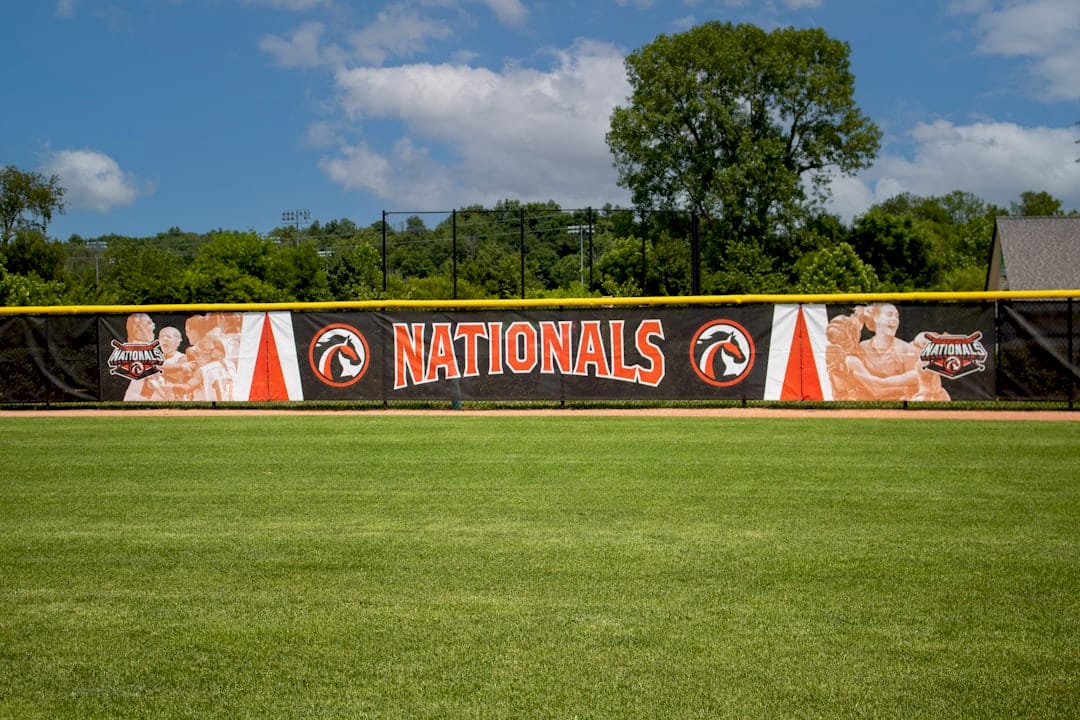
Reinforced hemming folds the banner material back on itself along all four edges and welds or stitches it into a thick border. This border distributes tension evenly across the entire perimeter rather than concentrating stress at a single attachment point. Poor finishing causes more banner failure than material quality, and undersized or skipped hems are the most common culprit. A reinforced hem is the foundation every outdoor banner needs before any other finish is added.
Eyelets and grommets
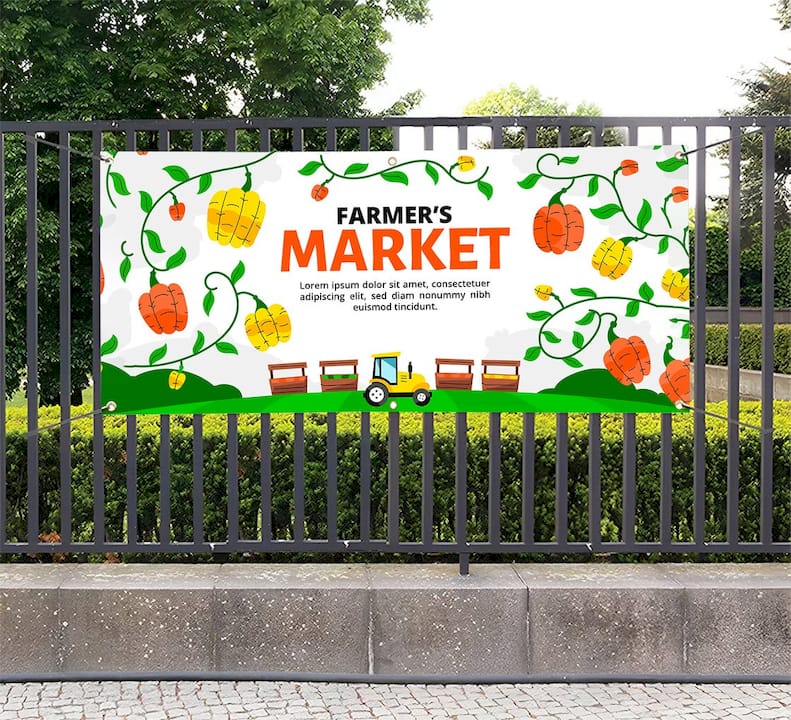
Eyelets are metal or clear plastic rings punched through the hemmed edge at regular intervals. They accept bungee cords, zip ties, rope, or hooks for attachment to fences, walls, poles, and frames. Metal eyelets are standard for most indoor and sheltered outdoor applications. Clear eyelets prevent rust stains on banners and mounting surfaces, making them the better choice for coastal venues, outdoor festivals in humid climates, or any site where moisture is a factor.
Pole pockets
A pole pocket is a sewn sleeve along the top, bottom, or both edges of a banner. A rod or pole slides through the sleeve to suspend the banner flat without visible hardware. Pole pockets are the standard finish for retractable banner stands, outdoor banner frames, and fabric display systems. Installation method dictates finishing choice: if your display uses a frame or stand, a pole pocket almost always outperforms eyelets for a clean, tensioned look.
Specialized finishing options
Beyond the three core methods, several specialized finishes serve specific situations.
-
Keder edging: A plastic bead sewn into the hem that slides into a track system on modular display frames. Common in trade show fabric displays and exhibition walls.
-
Velcro finish: A strip of hook-and-loop tape bonded to the banner edge for flat wall mounting. Fast to install and remove, ideal for retail or conference environments.
-
Trim to edge: No hem, no eyelet. The banner is cut to its final size with no additional reinforcement. Short-term indoor banners use trim-to-edge or velcro finishes to reduce cost and speed up setup for quick changeovers.
| Finish type | Best use case | Pros | Cons |
|---|---|---|---|
| Reinforced hem | All outdoor banners | Distributes tension, prevents fraying | Adds slight border width |
| Metal eyelets | Fences, walls, poles | Strong, universal hardware fit | Can rust in moisture |
| Clear eyelets | Coastal, humid outdoor sites | No rust, clean appearance | Slightly less rigid than metal |
| Pole pocket | Frames, stands, retractable systems | Seamless look, no visible hardware | Requires compatible frame |
| Keder edging | Trade show track systems | Locks into frame, very taut | Requires specific track hardware |
| Velcro finish | Indoor flat walls, retail | Fast install and removal | Not suitable for outdoor use |
| Trim to edge | Short-term indoor displays | Lowest cost, fastest production | No structural reinforcement |
Pro Tip: Order a sample of your chosen finish before a large event run. Seeing the actual hem width and eyelet placement on your specific material confirms the finish matches your installation hardware before you commit to quantity.
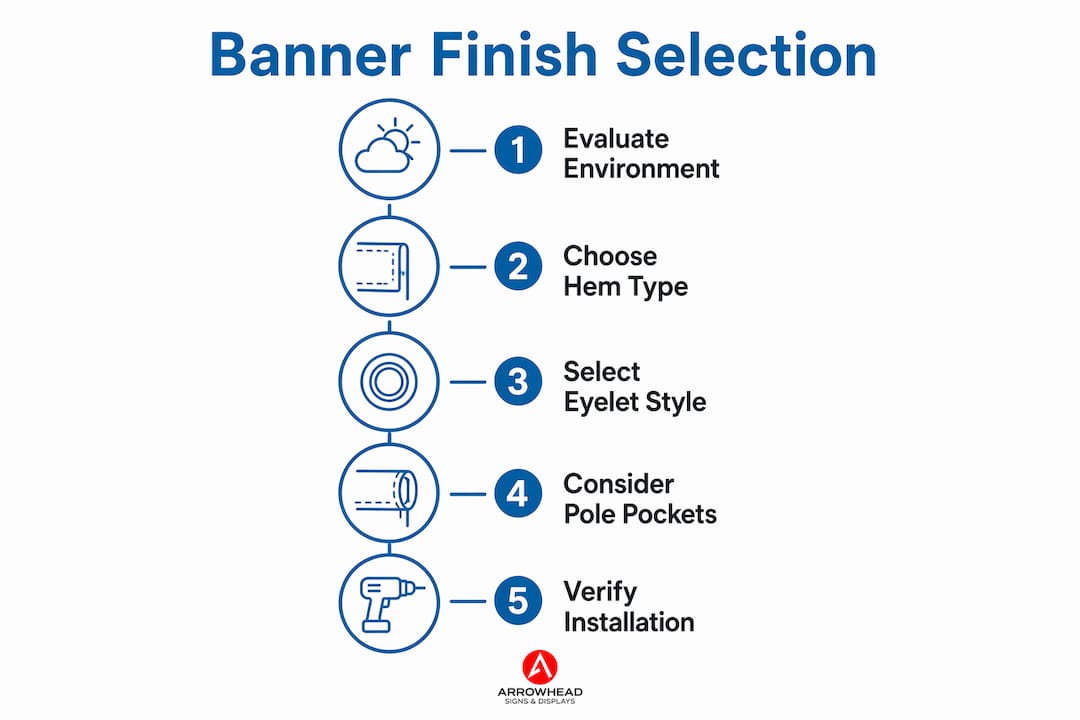
How to select finishes based on installation method and location
Matching your finishing choice to your installation surface is the single most important decision in the banner ordering process. Finishing decisions must align with installation specifics to avoid operational failures during events. A banner with the wrong finish for its mounting surface will fail, regardless of print quality or material weight.
-
Fence and barrier mounting: Use eyelets spaced at regular intervals along all four hemmed edges. Metal eyelets with zip ties or bungee cords work well for most trade show perimeter fencing. For outdoor festivals near water or in humid regions, specify clear eyelets.
-
Pole and post mounting: Choose eyelets at the top edge only, or a top pole pocket if the banner needs to hang flat. A bottom pole pocket with a weighted rod prevents the banner from curling in light wind.
-
Frame and stand mounting: Specify a pole pocket sized to match your frame’s pole diameter. Arrowhead Sign Company’s outdoor banner frames use standard pole dimensions, so confirming the pocket width before printing avoids a mismatch.
-
Flat wall mounting: Velcro finish or trim-to-edge works for smooth interior walls. For exterior masonry or rough surfaces, eyelets with anchor hardware hold more reliably.
-
Windy outdoor sites: Increase eyelet frequency and add wind slits to large banners. Eyelets spaced every 500mm distribute stress better than 1,000mm spacing for banners exposed to sustained wind. This is especially relevant for banners larger than 4 feet by 8 feet.
Outdoor use always demands a reinforced hem plus eyelets or a pole pocket. Indoor short-term use can safely drop to a trim-to-edge or velcro finish without sacrificing performance. The best materials and finishing choices for outdoor banners depend on both the environment and the mounting system you have on site.
Pro Tip: For any outdoor event in a high-wind area, request eyelets every 12 inches rather than the standard 24 inches. The small upcharge is far less expensive than replacing a torn banner mid-event.
What are the effects of finishing on banner longevity and cost-effectiveness?
Finishing directly controls how long your banner survives in the field. Investing more upfront in higher quality finishing and materials is more cost-effective over a campaign’s duration than replacing cheaper banners repeatedly. The math is straightforward: a well-finished banner used across five events costs less per impression than a budget banner that tears after two.
Calculating marketing cost in terms of cost per day or cost per thousand impressions gives a more accurate picture than comparing unit prices alone. A $180 banner with reinforced hems and clear eyelets that lasts 18 months costs less per day than a $90 banner that fails after three outdoor events.
The most common finishing mistakes that cause early banner failure include:
-
Skipping the hem on outdoor banners: Without a reinforced hem, the material tears from the eyelet outward under wind load.
-
Undersized eyelets for the attachment hardware: A small eyelet paired with a thick rope or hook creates a stress point that punches through the material.
-
Wide eyelet spacing on large formats: Banners over 6 feet wide with eyelets only at the corners concentrate all wind stress at four points.
-
Choosing trim-to-edge for outdoor use: No reinforcement means the raw edge frays quickly in UV exposure and moisture.
“Despite heavy vinyl material grades, improper finishing like undersized hems or poorly spaced eyelets cause premature banner failures rather than material quality issues.” Banner Printing Buying Guide
Quality finishing also protects brand image. A banner that sags, tears, or shows rust stains from corroded eyelets signals poor attention to detail to every attendee who walks past your booth. The finish is invisible when done right and very visible when done wrong.
What practical tips should marketing professionals know when selecting banner finishes?
The details that get skipped during the design phase are the ones that cause problems at the event. These are the finishing considerations worth building into your standard ordering checklist.
-
Maintain safe design margins. Design elements like logos and QR codes should sit 1–2 inches inside the finished edge to avoid being obscured or damaged by hemming and eyelet punching. This margin also protects text from being folded into the hem.
-
Specify your finish in writing. Do not assume your printer will default to the finish you need. State the hem width, eyelet material, eyelet spacing, and pocket size explicitly in your order notes.
-
Choose eyelet material based on environment. Metal eyelets work well indoors and in dry climates. Clear eyelets offer superior durability and appearance in high-moisture areas. Coastal events, outdoor festivals in summer humidity, and poolside venues all call for clear.
-
Account for finishing in your production timeline. Reinforced hems, keder edging, and custom pole pockets add production time. If you need a banner for an event in five days, confirm your printer can complete the specified finish within that window.
-
Review your proof with finishing visible. A good printer will show the hem border and eyelet positions on the proof. Verify that no critical graphic element falls within the finishing zone before approving.
Pro Tip: Ask your printer to mark the hem fold line on the digital proof. This single step catches logo and text placement errors before they reach production, saving you a reprint and a missed deadline.
For trade show applications specifically, finishing and signage recommendations for trade show banners vary by booth type and surface. Retractable banner stands, for example, require a specific pole pocket width that differs from outdoor frame systems.
Key takeaways
The right banner finish is determined by installation method, environment, and campaign duration. Choosing it correctly protects your investment and your brand’s appearance at every event.
| Point | Details |
|---|---|
| Finishing drives longevity | Proper finishing increases banner lifespan and visual impact by 30–40% versus poorly finished banners. |
| Match finish to installation | Pole pockets suit frames and stands; eyelets suit fences, walls, and poles; velcro suits flat indoor walls. |
| Environment determines eyelet type | Use clear eyelets in coastal or humid outdoor settings to prevent rust stains on banners and surfaces. |
| Design margins prevent damage | Keep logos and QR codes 1–2 inches from finished edges to avoid obscuring graphics during hemming. |
| Cost-per-day beats unit price | A well-finished banner used across multiple events costs less per impression than a cheaper banner replaced frequently. |
Why finishing is the decision most marketing teams get wrong
Most marketing professionals spend the majority of their banner budget on print quality and graphic design, which makes sense. But finishing is where the investment either holds together or falls apart, literally. I have seen beautifully printed vinyl banners destroyed after a single outdoor event because the printer defaulted to corner-only eyelets on a 10-foot-wide banner in a windy parking lot. The print was perfect. The finish was wrong for the application.
The part that surprises most event planners is that finishing failures are more common than material failures. You can order the heaviest vinyl available and still end up with a torn banner if the hem is too narrow or the eyelets are spaced too far apart. Material grade is a factor, but finishing execution is the deciding one.
My honest advice: treat finishing as a specification, not a default. Every banner order should include explicit instructions for hem width, eyelet material, eyelet spacing, and pocket dimensions. If your printer’s order form does not ask for these details, ask the questions yourself. A printer who cannot answer them clearly is not the right partner for professional event signage.
The industry is also moving toward fabric displays and keder-edge systems for trade shows, and those finishing methods require even more precision in the track-to-pocket fit. Getting familiar with retractable banner design best practices now puts you ahead of the curve as fabric display systems become the standard at higher-end expos and conferences.
— Dan
Custom banner solutions from Arrowhead Sign Company - Signs, Banners and Trade Show Displays
Arrowhead Sign Company - Signs, Banners and Trade Show Displays offers a full range of banner display products built to work with the finishing options covered here. Whether you need a frame system that accepts pole-pocket banners or a fabric display for a trade show, the product line covers both.
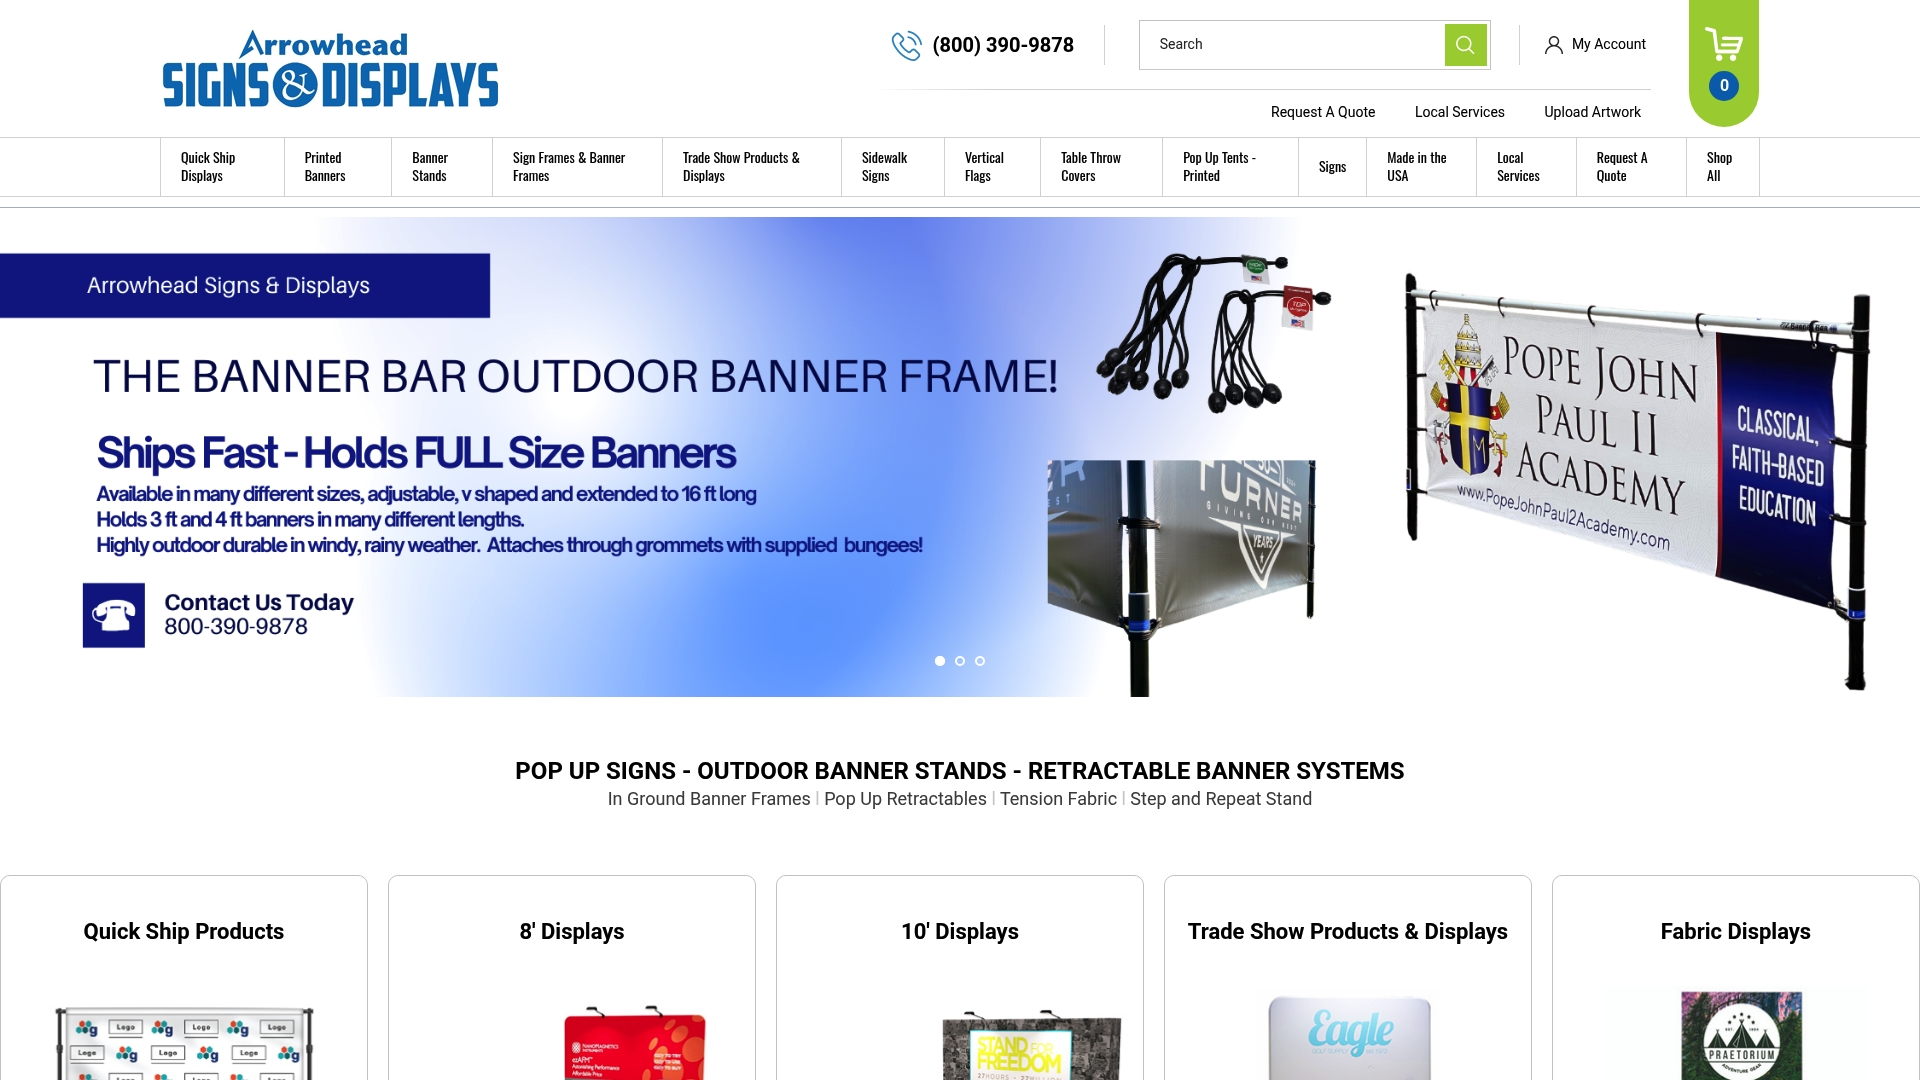
The adjustable outdoor banner frame accommodates 6-foot and 8-foot banners with standard pole pockets, making it a direct match for outdoor event and marketing applications. For fabric display presentations, the 10-foot stretch fabric display uses keder-edge finishing for a taut, professional appearance at trade shows and expos. Most products ship within two business days, and Arrowhead Sign Company - Signs, Banners and Trade Show Displays provides direct delivery to venues across Arizona.
FAQ
What are the main finishing options for custom banners?
The primary finishing options are reinforced hemming, eyelets (grommets), and pole pockets. Specialized options include keder edging, velcro finish, and trim-to-edge for short-term indoor use.
Which eyelet type is best for outdoor banners?
Clear eyelets are the best choice for coastal, humid, or high-moisture outdoor environments because they prevent rust stains on the banner and mounting surface. Metal eyelets work well in dry or sheltered conditions.
How far should design elements be from banner edges?
Logos, QR codes, and text should sit at least 1–2 inches inside the finished edge to avoid being obscured or damaged by hemming and eyelet punching during production.
How does eyelet spacing affect banner durability?
Eyelets spaced every 500mm distribute wind stress more evenly than 1,000mm spacing, significantly reducing the risk of tearing on large or outdoor banners exposed to sustained wind.
Is it more cost-effective to invest in better finishing upfront?
A well-finished banner that lasts through multiple events costs less per impression than a cheaper banner replaced after one or two uses. Calculating cost per day of use gives a more accurate picture than comparing unit prices alone.
Recommended
-
How Outdoor Event Banners Are Made: a 2026 Guide - Arrowhead Sign Company
-
Quick Turnaround Banner Printing Guide for Events - Arrowhead Sign Company
-
Retractable Banner Design Best Practices for Events - Arrowhead Sign Company
-
Types of Promotional Backdrop Displays: 2026 Guide - Arrowhead Sign Company