

How Exhibitors Choose Banner Heights: Quick Sizing Guide
Posted by Deeder Dandenhorf on Jul 28th 2026
How Exhibitors Choose Banner Heights: Quick Sizing Guide
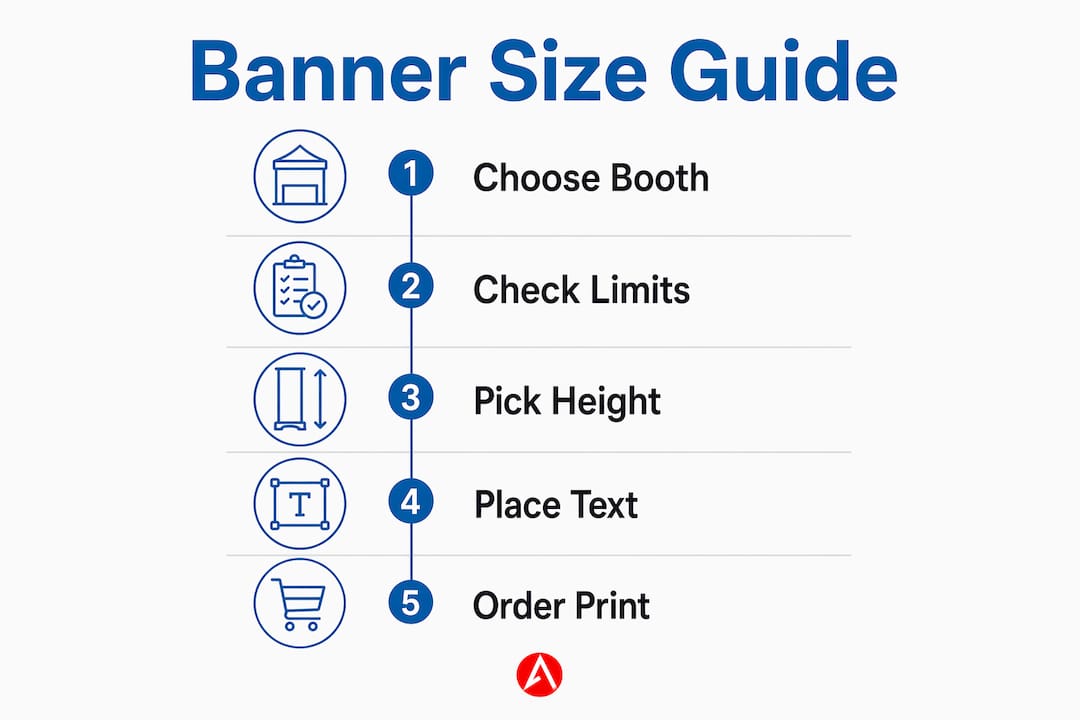
Match your banner height to your booth configuration and the organizer’s height limits first, then use EXHIBITOR Magazine’s legibility rule (1 inch of letter height per 3 feet of viewing distance) to confirm your text is readable from the aisle. Arrowhead Sign Company - Signs, Banners and Trade Show Displays can fulfill most standard banners within two business days once your files are approved.
Before you order, check every item below:
- Verify organizer limits. Pull the exhibitor service manual for your specific show. Linear/inline booths max out at 8 ft at the back wall and 4 ft in the front half of the space.
- Match banner type to booth footprint. A 10×10 inline calls for a retractable or tabletop; a 20×20 island can support a hanging sign up to the maximum height permitted by the organizer, often higher than inline booths.
- Calculate required letter height. Multiply your expected viewing distance in feet by 1/3 to get the minimum letter height in inches (e.g., 30 ft away = 10-inch letters).
- Respect sightline set-backs. Displays over 4 ft in linear exhibits must be set back at least 5 ft from the aisle line; hanging signs require a 10 ft set-back from adjacent booths.
- Confirm rigging requirements early. Contact the show manager and official contractor at least 60 days before installation for any hanging sign; engineered prints are typically required.
Table of Contents
- What banner types and standard sizes should you know?
- How does booth footprint determine your maximum height?
- How do you size text so attendees can actually read your banner?
- What print file specs do you need to get right?
- Which banner size fits your booth footprint?
- What do banners cost, and how long does production take?
- Key Takeaways
- What most exhibitors get wrong about banner height
- Get your banners right the first time with Arrowhead Sign Company
- Useful sources and where to confirm your show’s rules
What banner types and standard sizes should you know?
Every banner format has a natural size range, and knowing those defaults saves you from ordering something that won’t fit your booth or your budget.
| Banner Type | Common Standard Sizes | Typical Use |
|---|---|---|
| Retractable (roll-up) | 33"×80" or 36"×92" | Inline booths, aisle-facing branding |
| X-banner | 33"×80" or 36"×92" | Budget-friendly secondary signage |
| Tabletop banner | 24"×36" | Table displays, small footprints |
| Pop-up backdrop | 8’×8’ or 10’×10’ | Back wall of 10×10 or 10×20 booths |
| Hanging banner | Custom; max height set by organizer | Island and peninsula booths only |
| Step-and-repeat | 8’×8’ or 10’×10’ | Photo backdrops, sponsor walls |
| Outdoor banner frame | Adjustable 6 ft or 8 ft | Outdoor events, entrance signage |
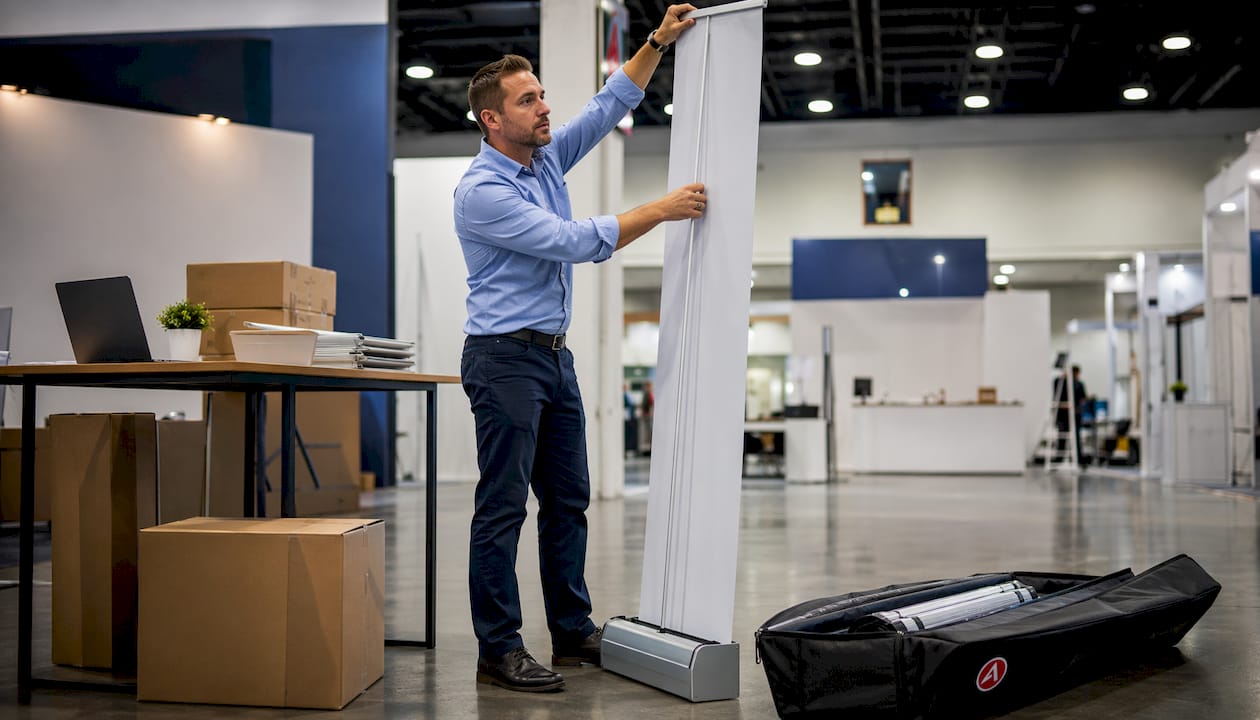
Retractable banners are the workhorse of the trade show floor. They set up in under two minutes, pack into a carry bag, and the standard 33"×80" height clears the 8 ft back-wall limit with room to spare. Wider 36"×92" models give you more graphic real estate without pushing into restricted zones.
Hanging banners are a different category entirely. They require organizer approval, engineered rigging, and a booth type that qualifies, which means peninsula or island configurations only. End-cap booths do not qualify for hanging signs under standard IAEE guidelines.
Custom heights, such as stacked retractables or double-height backdrops, are possible but come with real trade-offs: heavier shipping cases, longer setup times, and a higher risk of violating set-back rules if you haven’t confirmed the specs with the show manager first.
Pro Tip: Keep your banner copy lean. Your logo and tagline belong large at the top; leave technical details to handouts or staff conversations. EXHIBITOR Magazine’s design guidance is clear: dense copy on a banner hurts, not helps.
How does booth footprint determine your maximum height?
Organizers apply different height rules depending on your booth type, and the gap between an inline and an island allowance is significant. Getting this wrong means forced on-site redesigns, which are expensive and stressful.
Height at a glance: Island and peninsula booths typically allow signage up to the organizer’s specified maximum height, which may be within a range around 16 to 20 feet. Inline/linear booths cap at 8 ft at the back wall and 4 ft in the front half of the space.
| Booth Type | Max Back Wall Height | Front/Side Restriction | Hanging Signs Allowed? |
|---|---|---|---|
| Linear/Inline (10×10, 10×20) | 8 ft | 4 ft forward of rear half | No |
| End-cap (10×20) | 8 ft (center); 5 ft on side aisles | 4 ft within 5 ft of side aisles | No |
| Peninsula (20×20+) | 16–20 ft (center portion, organizer-specified) | 4 ft within 5 ft of each aisle | Yes (with approval) |
| Island (20×20+) | 16–20 ft (organizer-specified; some shows up to 24 ft) | None (open on all sides) | Yes (with approval) |
The Line-of-Sight rule is the most common reason exhibitors get flagged on the show floor. Any structure taller than 4 ft in a linear exhibit must be confined to the rear half of the booth and set back at least 5 ft from the aisle line. Tall flags or markers on the front aisle of linear booths are prohibited outright under standard IAEE guidelines.
For hanging signs, the set-back requirement is stricter: 10 ft from adjacent booths, directly over contracted space only. Approval must be received at least 60 days before installation, and all rigging hardware must be domestic, forged, shouldered, rated, and stamped with a Working Load Limit (WLL).
Before ordering tall signage, confirm these documents and contacts:
- Exhibitor service manual (show-specific height limits and set-back rules)
- Show manager (variance requests, hanging sign approvals)
- Official contractor (rigging, engineered prints, WLL-rated hardware)
- Venue facility manager (ceiling clearance, rigging point locations)
How do you size text so attendees can actually read your banner?
The formula is simple and worth memorizing: 1 inch of letter height per 3 feet of viewing distance. That single rule from EXHIBITOR Magazine will save you from the most common legibility mistake at trade shows.
Two worked examples:
- Short viewing distance (15 ft): 15 ÷ 3 = 5-inch minimum letter height. This applies to a tabletop banner or a retractable placed near the aisle.
- Long viewing distance (60 ft): 60 ÷ 3 = 20-inch minimum letter height. This is the scale you need for a hanging sign or a large backdrop visible from across the hall.
Messaging hierarchy matters just as much as letter size. Structure your banner in three layers:
- Primary (50–100 ft): Brand name and logo, large enough to identify you from across the aisle.
- Secondary (10–50 ft): A short phrase describing what you do, in a clear sans-serif font.
- Tertiary (1–10 ft): Contact info, product names, or a call to action for attendees who stop at your booth.
For inline booths, place your most critical copy between 3 ft and 6 ft from the floor. That’s eye level for most attendees and the zone they scan first. High-contrast combinations, dark text on a light background or vice versa, outperform low-contrast designs at every viewing distance. Avoid script fonts, thin weights, and text placed over busy photographic backgrounds.
Pro Tip: Before your show, print a 24-inch-wide mockup of your headline text and tape it to a wall. Step back to your expected aisle distance and check it. A phone camera zoomed to 2× approximates what a distant attendee sees.
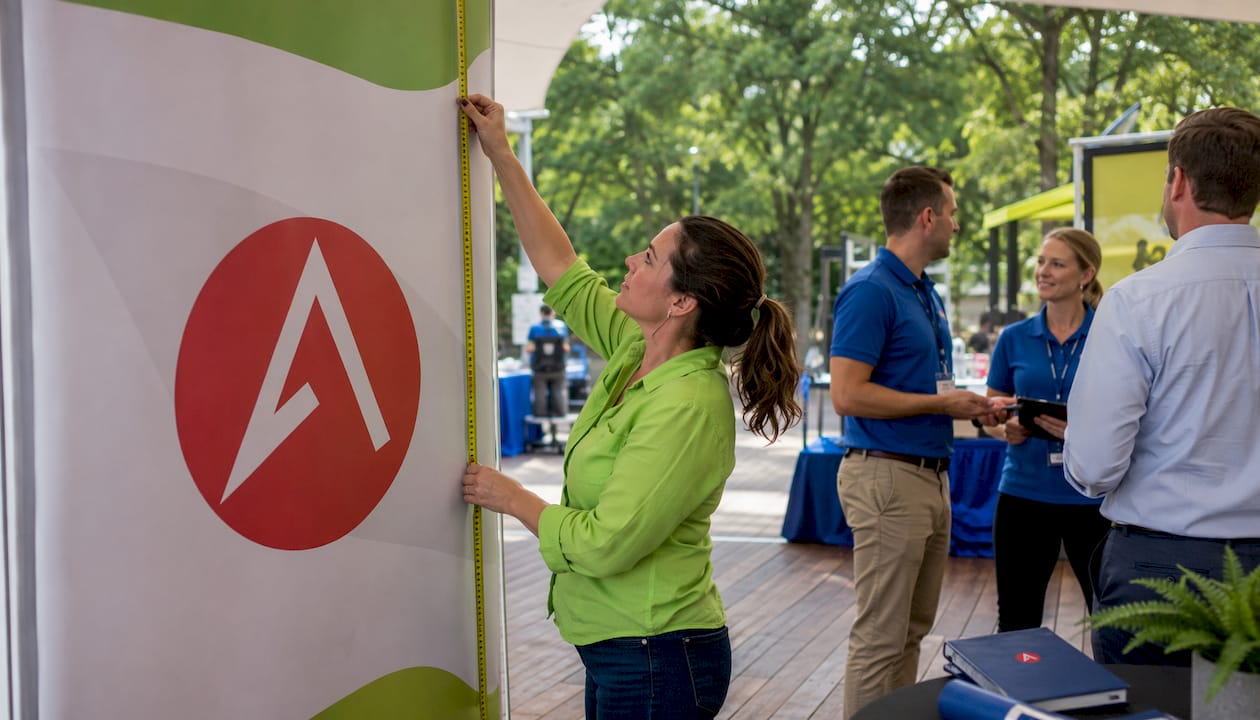
For more on eye-catching booth signage design principles, including contrast ratios and font selection, Arrowhead Sign Company - Signs, Banners and Trade Show Displays has a dedicated resource.
What print file specs do you need to get right?
Submitting a file with the wrong resolution or missing bleed is one of the fastest ways to delay your order or end up with a banner that looks soft on the show floor. Hand this checklist to your designer before they start.
- Resolution: 150–300 DPI at final print size. Larger formats (8 ft backdrops and above) typically print well at 150 DPI; smaller retractables benefit from 200–300 DPI.
- Bleed: Add 1/4" to 1/2" bleed on all sides for retractable banners; 1/2" to 1" for large backdrops. Bleed prevents white edges if the print shifts slightly during finishing.
- File format: PDF/X-1a or high-resolution TIFF are the most universally accepted. Avoid RGB JPEGs for final print files.
- Color profile: Convert all colors to CMYK before submitting. Colors that look vivid on screen in RGB can shift noticeably when printed.
- Safe area: Keep all critical text and logos at least 2–3 inches inside the trim edge for retractable banners; 6–12 inches for large backdrops, depending on the mounting hardware and hem placement.
- Hardware attachment points: Confirm grommet locations, pole pocket placement, and hem reinforcement with your printer before approving the final file. A grommet placed over your logo is a painful mistake.
- Double-sided prints: If your banner will be seen from both sides (e.g., a hanging sign), confirm whether the printer requires two separate files or a single mirrored file, and whether a blackout liner is included.
- Seam placement: For wide-format backdrops, ask where seams will fall and adjust your design so seams don’t bisect faces or key graphics.
Which banner size fits your booth footprint?
Use this table as a starting point, then adjust based on your show’s specific height limits and your messaging needs.

| Booth Type | Recommended Banner Type | Height Range | Notes |
|---|---|---|---|
| 10×10 inline | 33"×80" retractable or 24"×36" tabletop | Up to 80" (6’8") | Stay within 8 ft back-wall limit; set tall units in rear half |
| 10×20 inline | 36"×92" retractable or 8’×8’ backdrop | Up to 8 ft | Two retractables flank a backdrop for full back-wall coverage |
| End-cap (10×20) | 8’×8’ backdrop (center); retractables on sides | 8 ft center; 5 ft sides | No hanging signs; side aisles capped at 4 ft within 5 ft |
| Peninsula (20×20+) | 8’–10’ backdrop + hanging sign | 16–20 ft (hanging) | 10 ft set-back from adjacent booths; approval required |
| Island (20×20+) | Hanging banner or 10’–12’ freestanding tower | 16–20 ft | Full cubic content allowed; hanging sign approval required 60 days out |
For a 10×10 booth, the most effective combination is a retractable sized to fit the back wall paired with a tabletop banner on your display table. The retractable handles brand identity from a distance; the tabletop handles close-up product information. For guidance on connecting banner stands to create a wider visual wall without violating height rules, that technique works well in 10×20 configurations.
When neighbors have tall builds, your floor-supported graphics need to work harder at eye level. Prioritize the 3 ft–6 ft zone on your back wall and make sure your brand name is legible from the aisle before the attendee even turns to face your booth directly.
What do banners cost, and how long does production take?
Budget and timeline planning is where many exhibitors get caught short. Here’s a realistic breakdown.
- Economy retractable banners (33"×80", single-sided): typically in the range of $80–$150 depending on hardware quality and print substrate. Rush production is available from many suppliers.
- Premium fabric backdrops (8’×8’ or 10’×10’): costs vary widely based on fabric type, frame system, and whether the unit includes a carrying case. Budget significantly more than a retractable.
- Hanging signs and custom truss structures: costs include the sign itself, engineered prints, rigging labor, and any venue-mandated insurance. These are the most expensive category and require the longest lead time.
- Standard production lead time: 2–7 business days for common retractables and backdrops. Arrowhead Sign Company - Signs, Banners and Trade Show Displays ships most products within two business days of artwork approval.
- Hanging sign approvals: Submit drawings and engineering prints at least 60 days before installation. The official contractor typically requires engineered files at least three weeks before move-in.
- Drayage and installation: venue drayage (material handling) adds cost and time on-site. Factor in labor for hanging sign installation, which must be performed by the official contractor at most venues.
Pro Tip: Approve your final artwork at least 2–3 weeks before your printer’s stated production lead time. That buffer absorbs revision rounds, courier delays, and the occasional file-format issue without putting your show date at risk.
For a broader look at trade show booth setup timelines and fast-setup strategies, Arrowhead Sign Company - Signs, Banners and Trade Show Displays has a practical buyer’s guide worth reviewing before your next show.
Key Takeaways
Choosing the right banner height comes down to three non-negotiable inputs: your booth type, the organizer’s height limits, and the EXHIBITOR Magazine legibility rule (1 inch of letter height per 3 feet of viewing distance).
| Point | Details |
|---|---|
| Verify organizer limits first | Linear booths cap at 8 ft back wall and 4 ft forward; island/peninsula booths allow 16–20 ft. |
| Apply the legibility formula | Use 1 inch of letter height per 3 ft of viewing distance to size all headline text. |
| Match banner type to footprint | A 10×10 inline suits a 33"×80" retractable; a 20×20 island can support a 16–20 ft hanging sign. |
| Submit hanging sign approvals early | Engineered prints and organizer approval are required at least 60 days before installation. |
| Arrowhead Sign Company | Ships most banners and display products within two business days of artwork approval. |
What most exhibitors get wrong about banner height
The conventional wisdom is to “go as tall as the rules allow.” That instinct is understandable but often counterproductive. Height without legibility is just visual noise, and a 20 ft hanging sign with 3-inch letters is invisible to the attendees walking the aisle 60 ft away.
The more useful frame is this: choose the height that puts your primary message at the right viewing distance for your booth’s traffic pattern, then work down from there. For a 10×10 inline booth, that usually means a well-designed 80-inch retractable with a bold, high-contrast headline at the top third of the graphic. For an island booth, it means a hanging sign sized so the logo is legible from the far end of the hall, not just from 10 ft away.
The other mistake I see repeatedly is treating the Line-of-Sight rule as a technicality that show management won’t enforce. They do enforce it, and the fix on-site is always worse than the fix at the design stage. Tall elements on the front edge of a linear booth get moved or removed. That disrupts your setup, wastes labor time, and leaves your booth looking unfinished during the busiest hours of move-in.
One more thing: don’t assume a variance will be granted for a promotional flag or oversized sign that exceeds your booth’s height limit. Organizers typically reserve variances for products being demonstrated in operating mode, not for ancillary marketing items. Plan within the rules from the start.
[Insert author bio for Dan] [Insert case studies or detailed customer testimonials from Arrowhead Sign Company - Signs, Banners and Trade Show Displays]
Get your banners right the first time with Arrowhead Sign Company
When your show date is two weeks out and you need banners that arrive on time, meet venue specs, and look sharp on the floor, Arrowhead Sign Company - Signs, Banners and Trade Show Displays delivers. Boost your booth’s visibility by leveraging social media for event venues to amplify your presence and draw more attendees to your display. Most products ship within two business days of artwork approval, and for Arizona exhibitors, direct venue delivery is available so you’re not managing freight logistics on top of everything else.

One product worth knowing for outdoor events and entrance signage is the adjustable outdoor banner frame, available in 6 ft and 8 ft heights. It fits standard banner sizes, sets up without tools, and works equally well indoors for booths where a freestanding frame is more practical than a retractable stand. The full product range, from retractable banners to custom backdrops and banner stands, is available at arrowheadsigncompany.com. Upload your artwork, request a quote, or ask about engineered print requirements for your next show.
Useful sources and where to confirm your show’s rules
No article replaces the exhibitor service manual for your specific show. Rules vary by organizer, venue, and event type. Use these primary references to verify every height limit and approval requirement before you order.
- Exhibitor service manual: Your first stop. Every show publishes one. It contains booth-type definitions, height limits, set-back rules, and official contractor contact information.
- IAEE Guidelines for Display Rules and Regulations: The industry-standard framework that most North American organizers follow. Covers linear, end-cap, peninsula, and island booth rules, hanging sign requirements, and variance policies.
- EXHIBITOR Magazine design guidance: The source of the 1 inch per 3 ft legibility rule and messaging hierarchy recommendations. Available at exhibitoronline.com.
- Show manager: Contact them directly for hanging sign approvals, variance requests, and any ambiguous height rules. Get confirmations in writing.
- Official contractor: Required for rigging, engineered prints, and WLL-rated hardware. Confirm their submission deadlines, which are often three weeks before move-in for engineering files and 60 days for hanging sign approvals.
A practical note on documentation: Save every email, approval confirmation, and engineered drawing. If a dispute arises on-site about your banner height or rigging setup, written confirmation from the show manager is your fastest resolution. Verbal approvals don’t hold up when the floor supervisor is standing at your booth during setup.
Recommended
- Selecting the Right Banner Stand for Your Exhibit Space - Arrowhead Sign Company
- Standard Banner Sizes: A 2026 Guide for Marketers - Arrowhead Sign Company
- Quick Turnaround Banner Printing Guide for Events - Arrowhead Sign Company
- Connecting Banner Stands for Large Exhibit Impact - Arrowhead Sign Company